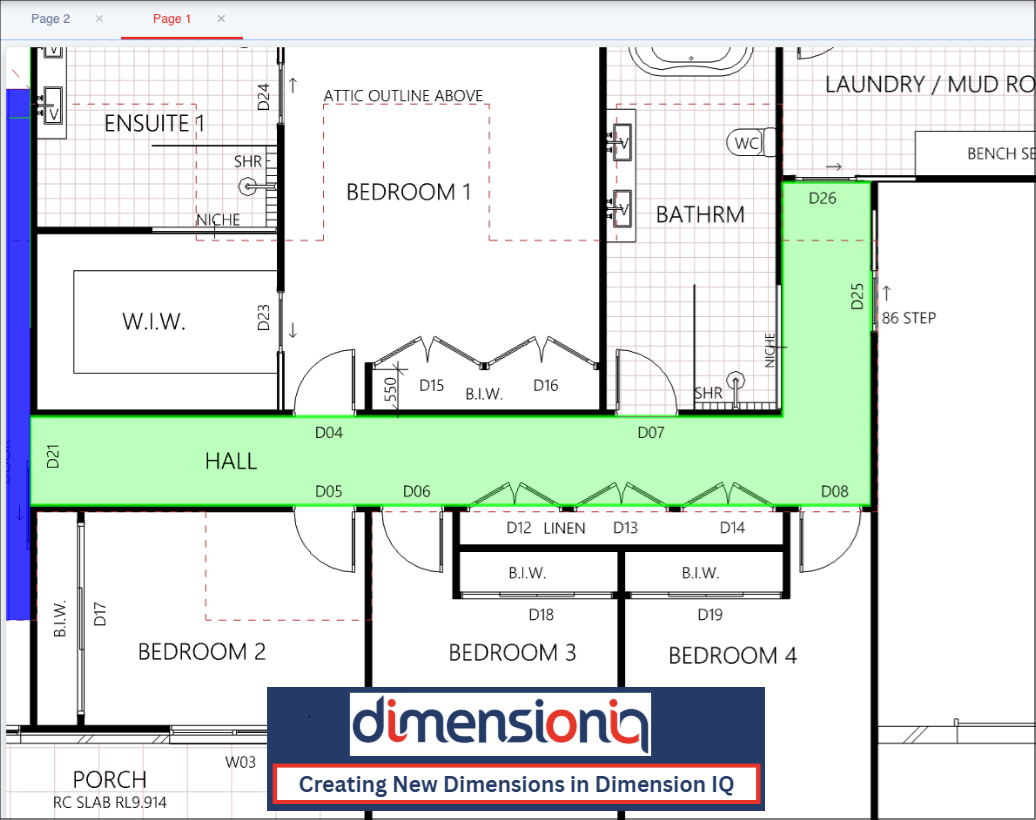
Getting Started with Project Setup in DimensionIQ

Laying the Foundation: Understanding the DimensionIQ Hierarchy
Every accurate takeoff begins with a solid foundation. In DimensionIQ, that foundation is your project setup. While the tools for measuring are powerful, the real efficiency comes from how well your workspace is structured before you even take your first measurement.
Integrating DimensionIQ Within a Host Application
This example demonstrates how a project can be structured when DimensionIQ is integrated into a host application. In this setup, DimensionIQ operates as a specialized takeoff engine within the broader system, allowing users to perform measurements, calculations, and visual analysis without leaving the main application environment.
The host application manages core functionality such as project data, user interaction, and workflows, while DimensionIQ handles dimensioning, segment control, and takeoff logic. Data flows seamlessly between the two, ensuring that any measurements or changes made in DimensionIQ are immediately reflected in the overall project.
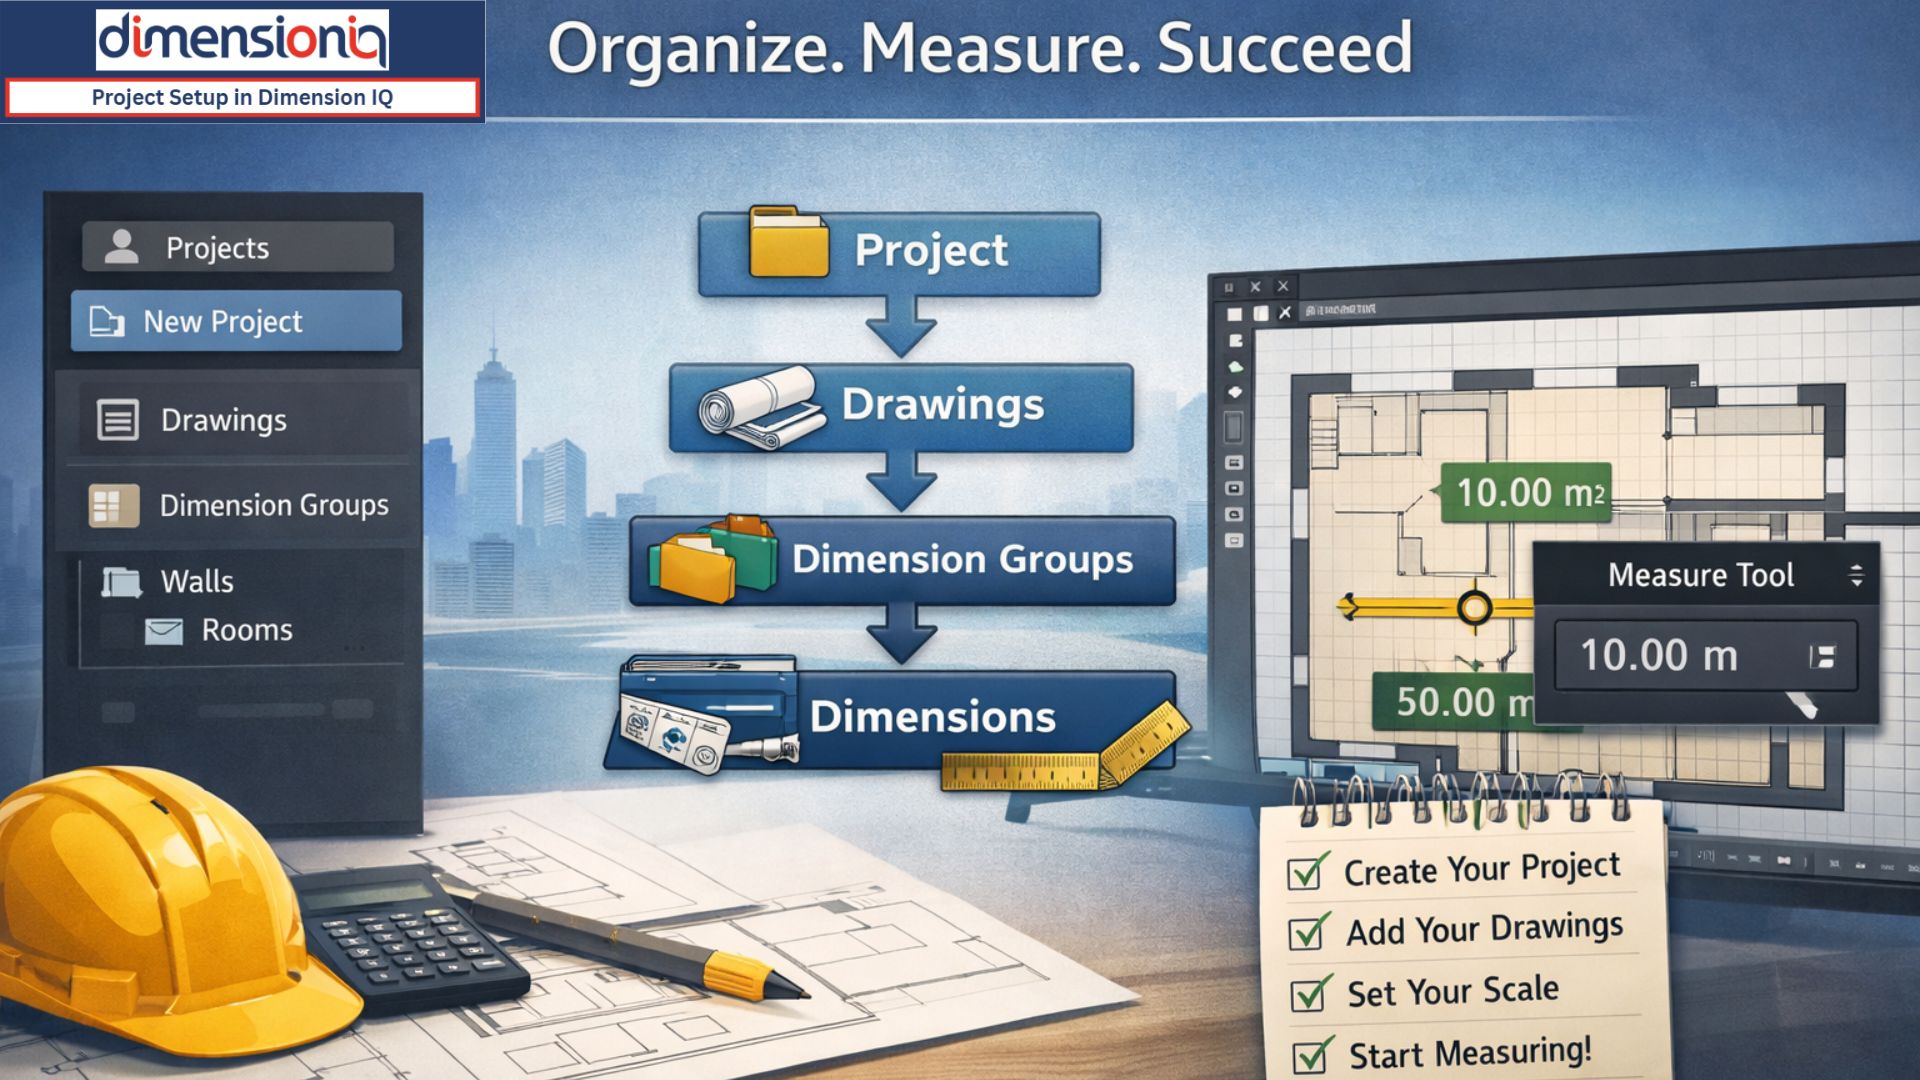
At its core, DimensionIQ follows a simple but effective hierarchy: projects contain drawings, drawings contain dimension groups, and dimension groups contain your measurements. Understanding this flow isn’t just helpful—it’s essential. It ensures that everything you measure has a place, and everything you create stays organised as your project grows.
Building Your Workspace
When you first enter DimensionIQ, the natural starting point is creating a project. Think of a project as your digital job folder. It’s where everything lives—your plans, your measurements, and ultimately your takeoff data. Since only one project can be open at a time, creating a new one sets the stage for the work ahead.
As you define your project, you’re not just naming it—you’re shaping how it will be used. Whether you add a project code, notes, or adjust the unit of measurement, these small details help tailor the environment to your workflow. It’s a simple step, but it establishes clarity right from the beginning.
Bringing Drawings to Life
Once your project exists, it’s time to introduce the drawings. These are the backbone of your takeoff—the plans you’ll be working from.
Adding a drawing is straightforward, but what’s powerful is how flexible it is. A single file can contain multiple pages or layouts, meaning you can manage entire plan sets within one place. This reduces clutter and keeps everything tied neatly to the same project context.
After uploading, your drawings become instantly accessible from the side panel.
Navigating Layouts with Ease
Most construction drawings aren’t a single page—they’re a collection of layouts, each representing different aspects of a project. DimensionIQ handles this impeccably by allowing you to open multiple layouts at once.
Instead of constantly switching back and forth, you can move between tabs, compare plans, and maintain context as you work. It’s a small usability feature, but it makes a big difference when dealing with complex drawings.
Accuracy Starts with Scale
Before any measurements begin, there’s one critical step that should not be overlooked: verifying the scale.
Even when a scale is provided on a drawing, it’s always worth confirming. Using the Measure tool, you can quickly check whether the on-screen dimensions align with real-world values. This step ensures that everything that follows is accurate.
Once verified, applying the correct scale locks in that accuracy. From that point on, every measurement you take reflects true proportions, giving you confidence in your results.
Organising with Dimension Groups
With your drawings ready and scaled correctly, the next layer of structure comes into play: dimension groups.
If projects are your folders and drawings are your documents, then dimension groups are how you categorize your work within those documents. They allow you to organise measurements logically—by area, by trade, or by any structure that suits your workflow.
For example, you might group measurements under categories like walls, rooms, or specific building sections. This not only keeps your data tidy but also makes it far easier to review and extract information later.
Dimension groups also introduce flexibility in how measurements are interpreted and displayed. Whether you’re working with lengths, areas, or other values, you can control how that data is calculated and presented, giving you both precision and clarity.
Where It All Comes Together
Once everything is in place, measuring becomes the most natural part of the process.
Working directly on the drawing, you can begin capturing dimensions with simple point-and-click actions. As you do, DimensionIQ automatically organizes each measurement into its selected group, visually marking it on the drawing and listing it in the interface.
Features like cursor snapping enhance accuracy by locking onto key points such as edges and intersections, while tools for continuous measurement make it easy to trace perimeters or complex shapes without interruption.
What makes this stage so effective isn’t just the measurement tools—it’s the structure you’ve already built. Because your project, drawings, and groups are set up correctly, every measurement fits seamlessly into place.
The Bigger Picture
Project setup in DimensionIQ isn’t just a preliminary task—it’s what determines how smooth, accurate, and scalable your takeoff process will be.
By establishing a clear hierarchy, verifying your drawings, and organizing your measurements from the start, you’re not just preparing to measure—you’re setting yourself up to work efficiently and confidently.
And once that foundation is in place, everything that follows becomes faster, clearer, and far more powerful.