Area
Overview
Area measurement allows you to define and calculate enclosed spaces using either existing drawing geometry or manual point selection. Each area is added to the selected dimension group, allowing results to be organized and tracked consistently.
There are two basic methods to create area measurements.
Snap to Geometry Area
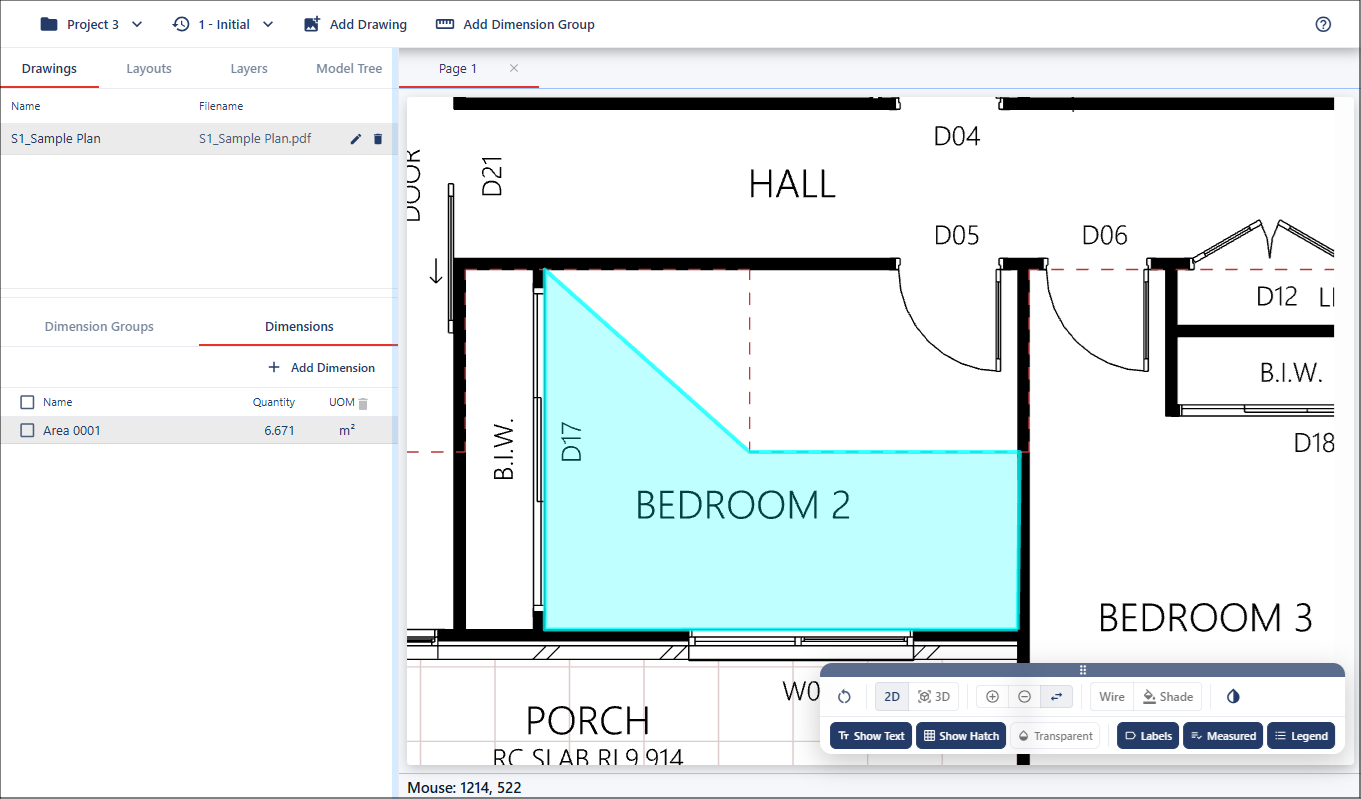
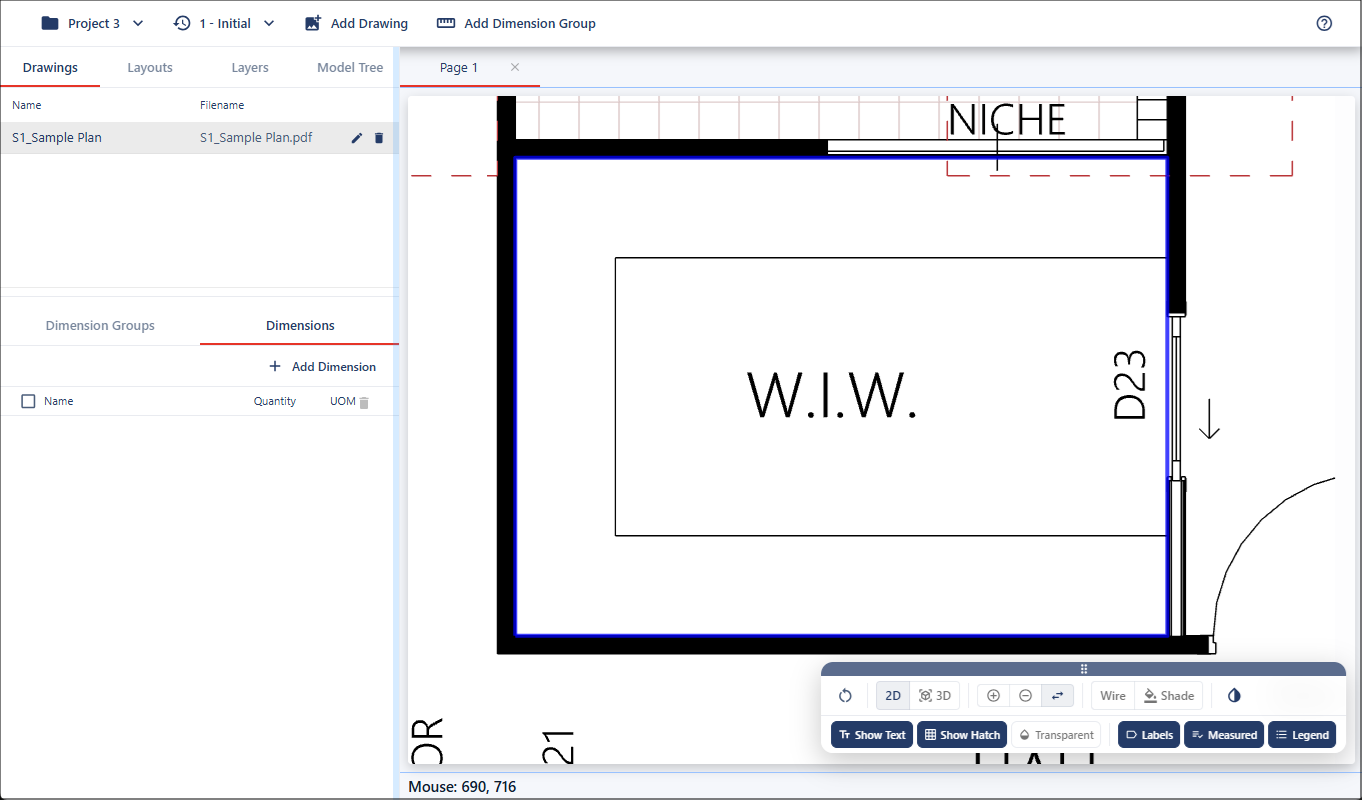
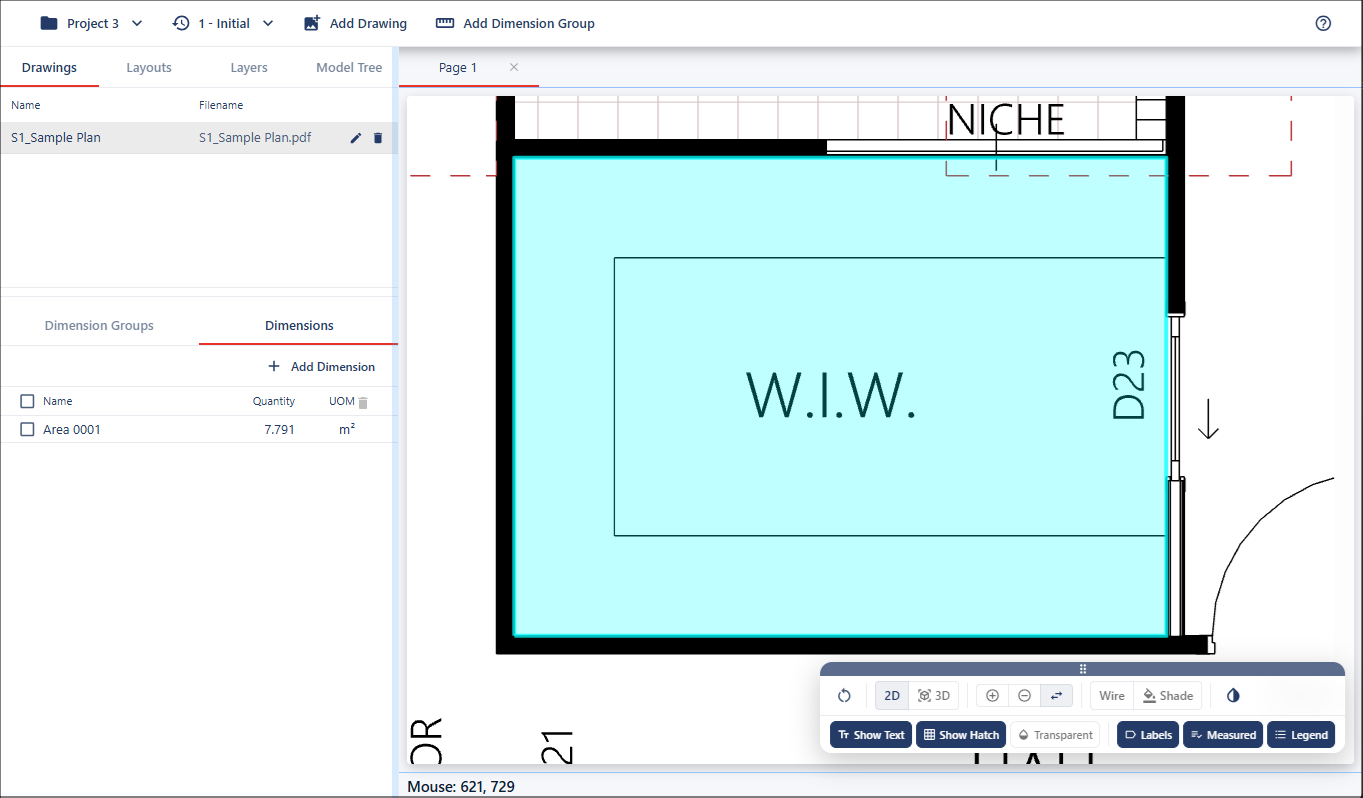
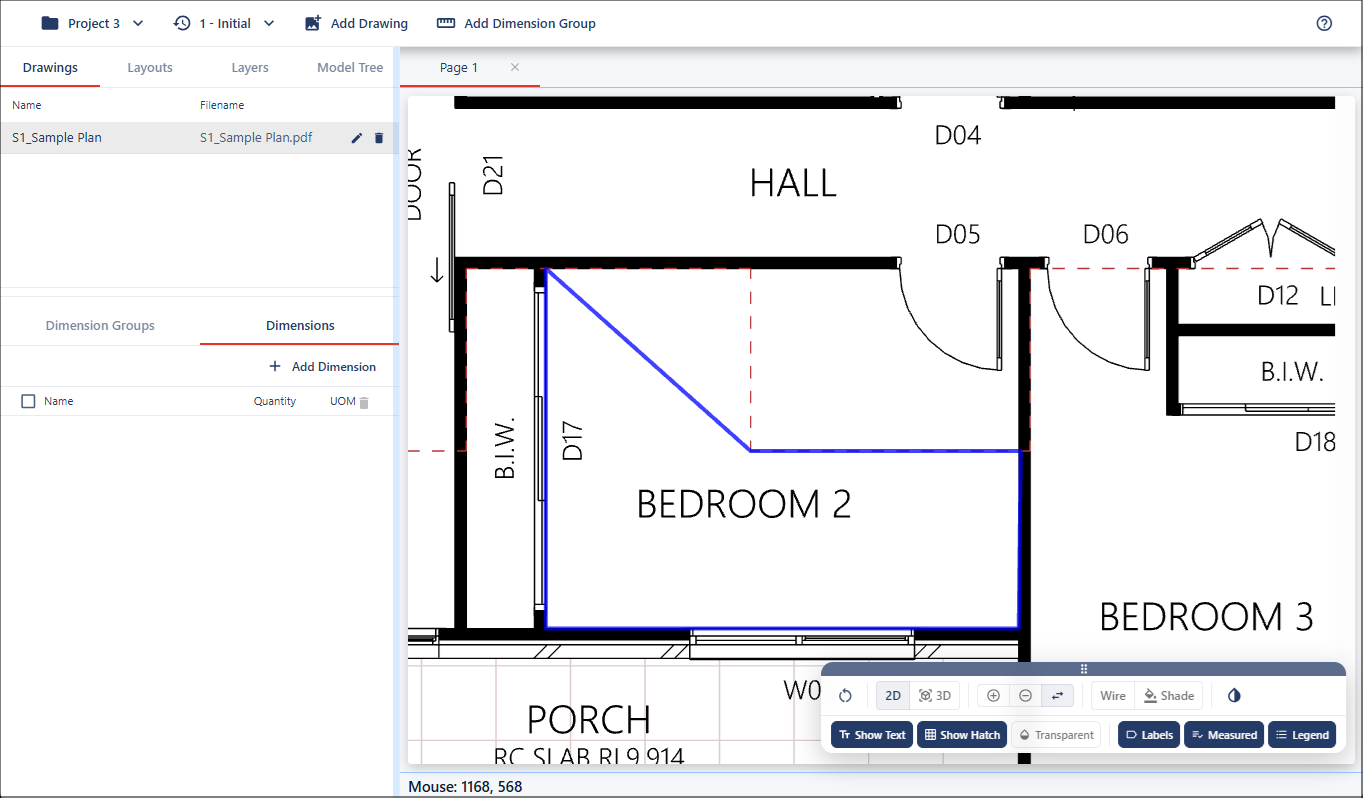
The first method uses existing geometry in the drawing. As you move the cursor, it will snap to a line or segment. Click to place points along the boundary of the area you want to measure, following the geometry step by step. Continue clicking until the shape is defined.
Once complete, press Enter/Return to finish the measurement. The defined area will become highlighted, and the area measurement will be created.
Manual Point Area
The second method is used when no suitable geometry exists or when creating a freehand area. Hold Alt (Windows) / Option (Mac) to enter manual mode. The cursor will allow you to place points freely, snapping where applicable. Click to define each point of the area boundary.
Once the shape is complete, press Enter/Return to generate the area measurement.