Scaling
Overview
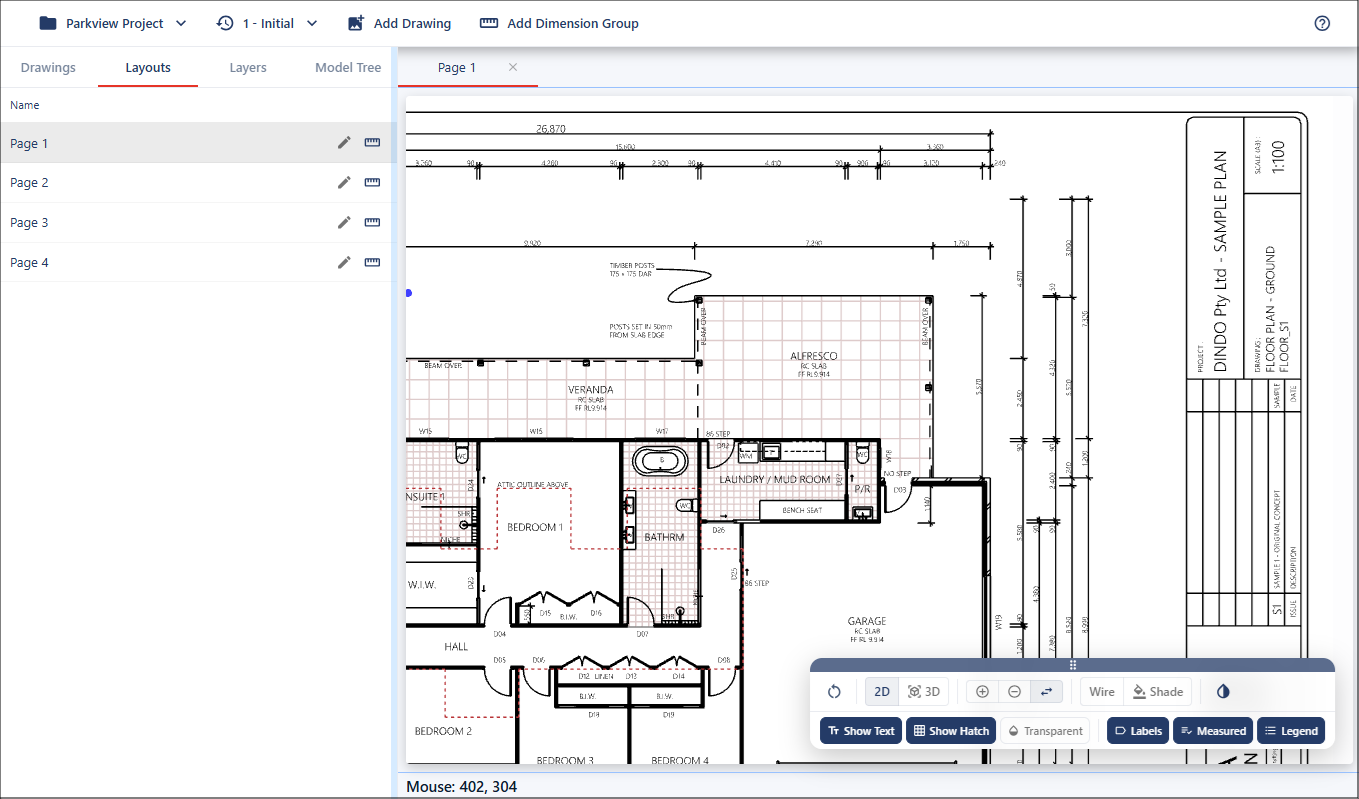
Correct scaling ensures that all measurements reflect real-world dimensions accurartely.
In this example, the drawing shows a scale of 1:100. This means that every 1 millimetre on the drawing represents 100 millimetres in the real world.
Validating the Drawing Scale
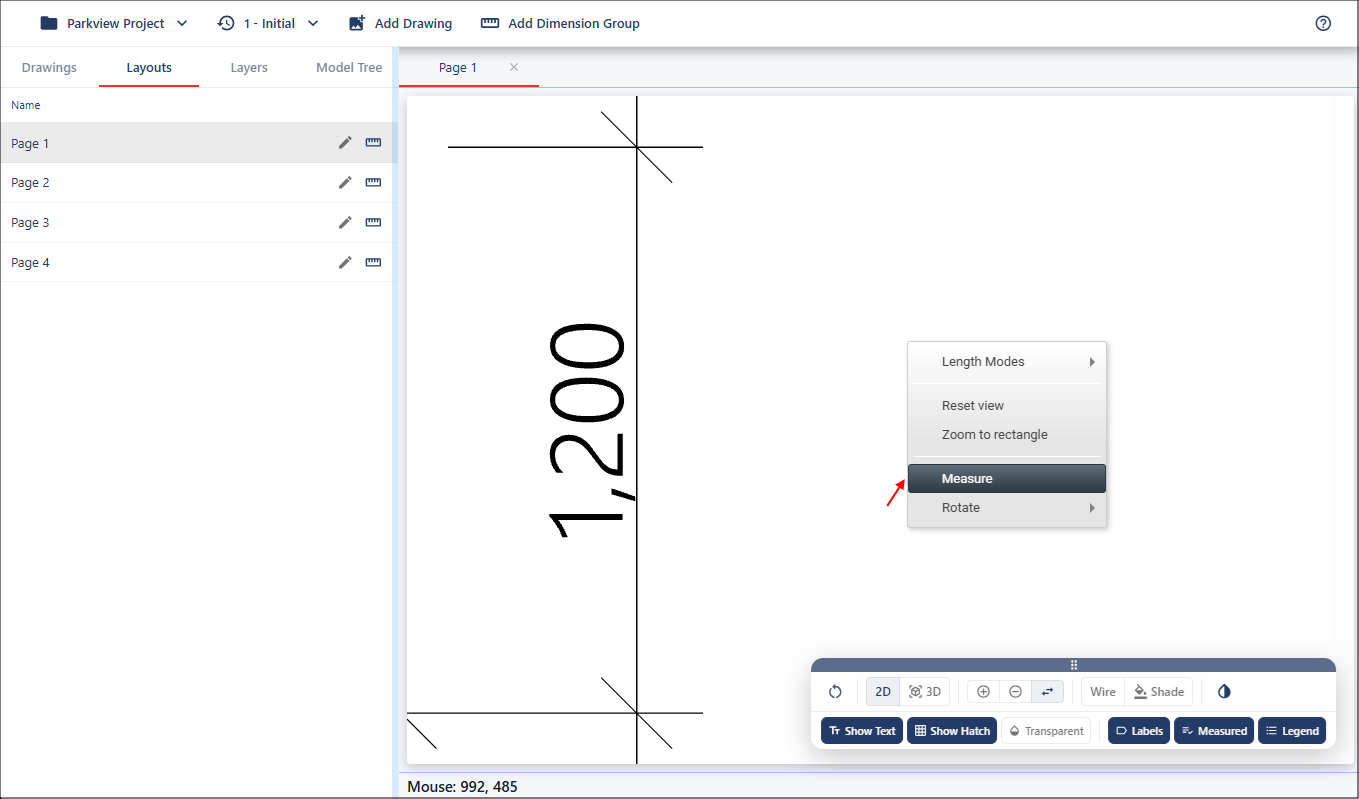
You can use the Measure tool to check whether a drawing has been scaled correctly.
When working with drawings that contain geometry, the Measure tool will automatically snap to existing points for improved accuracy. As you move the cursor, valid snap points are highlighted using the red target indicator.
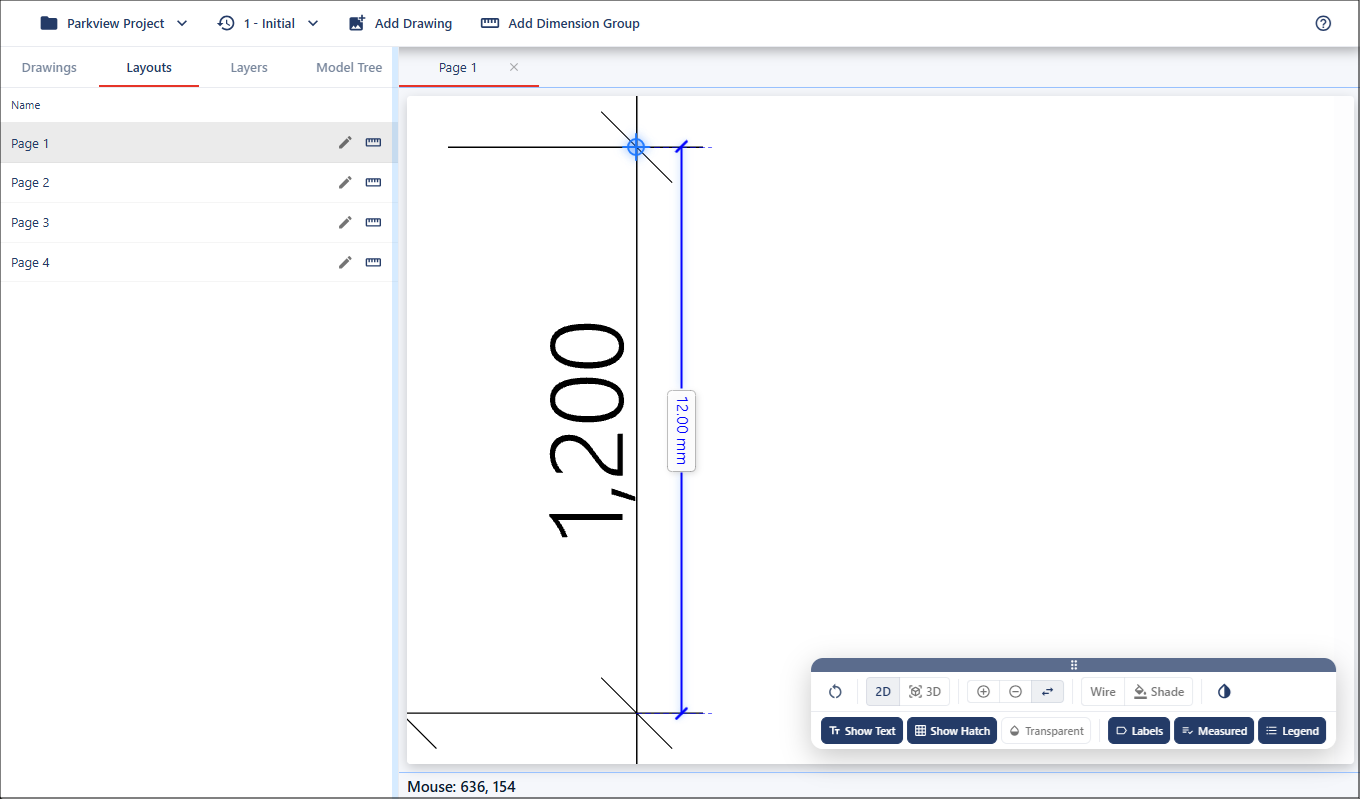
To validate the scale, zoom into a known dimension on the drawing, right-click in the viewport and select Measure.
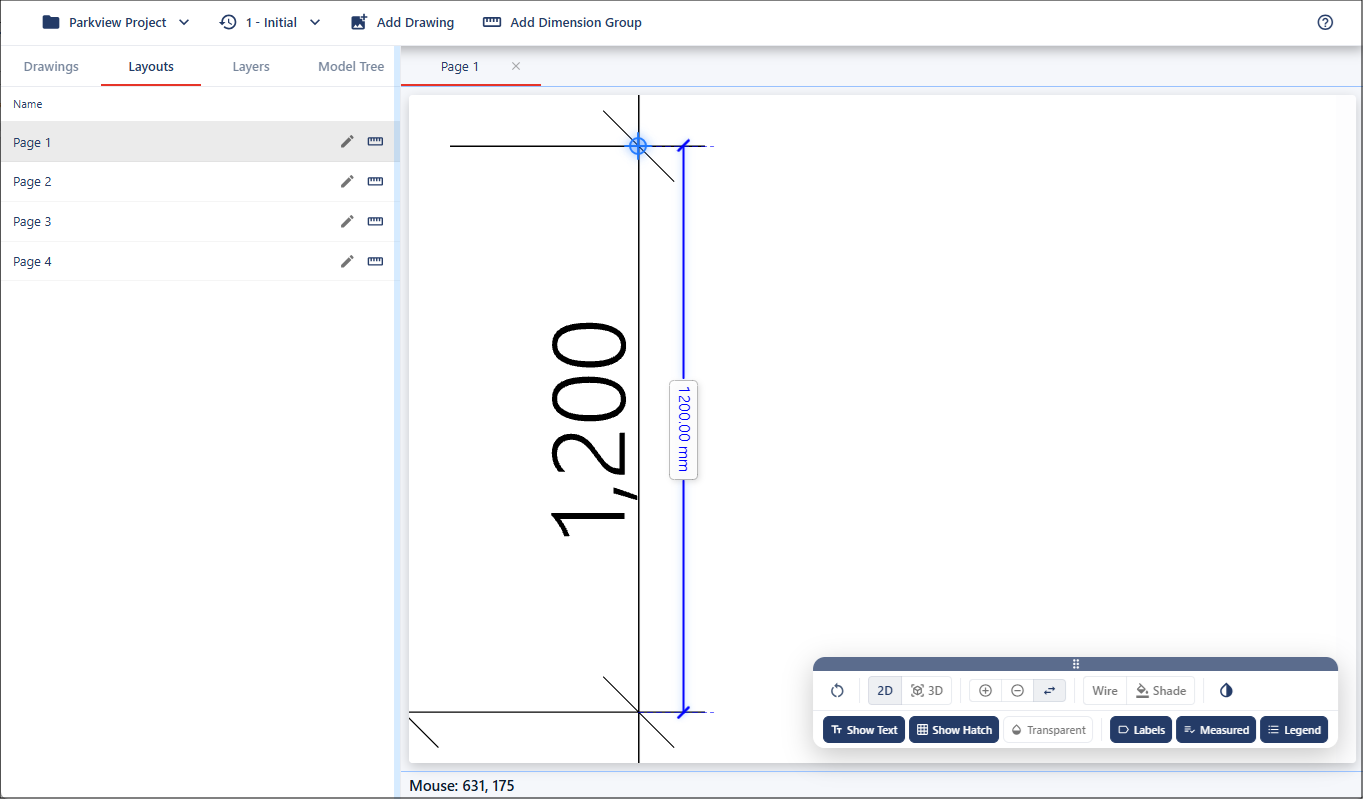
Move the cursor to the starting point until it snaps to the geometry.

Left-click and hold to begin the measurement. Move to the endpoint where it will snap again. If you release the mouse, the measurement will no longer be visible.
In this example, the measured result is 12mm instead of the expected 1200mm, indicating that the drawing has not been scaled correctly.
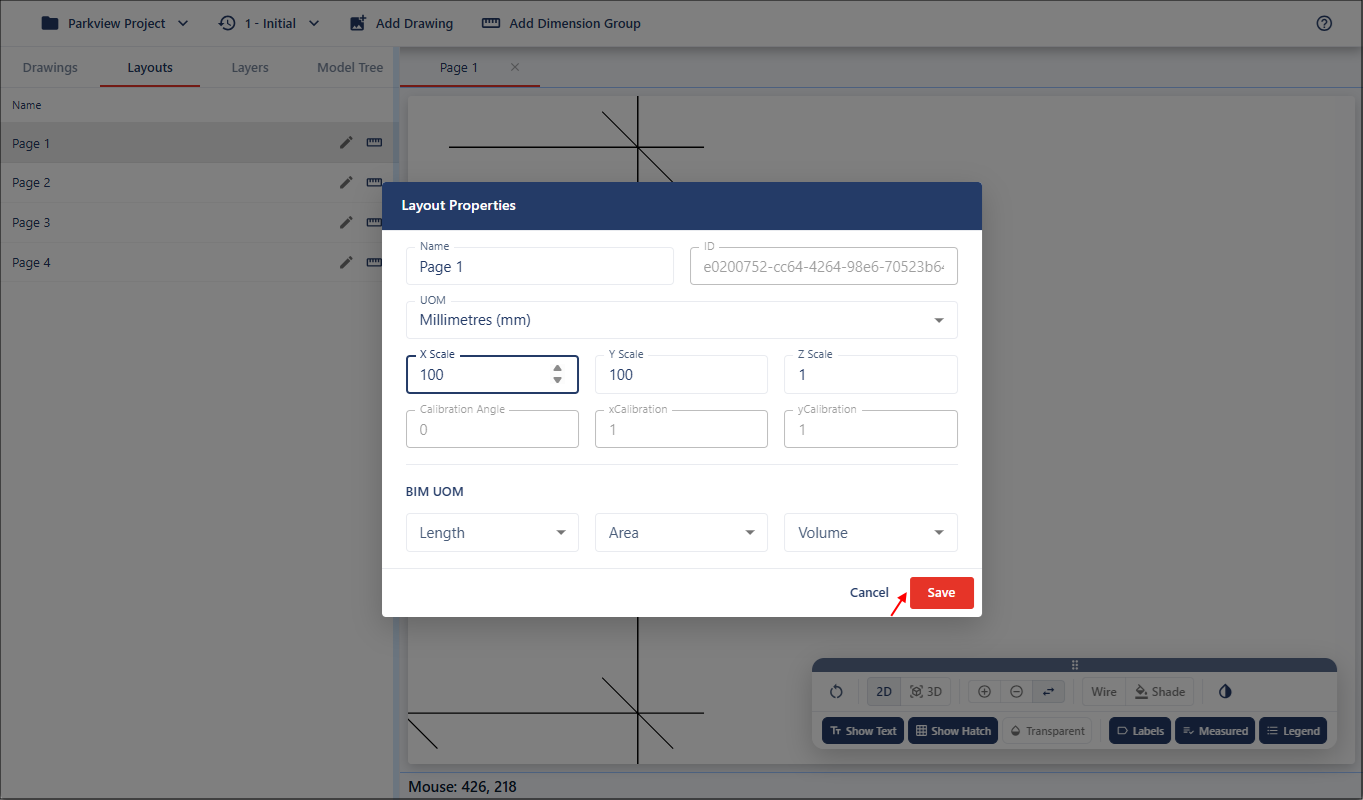
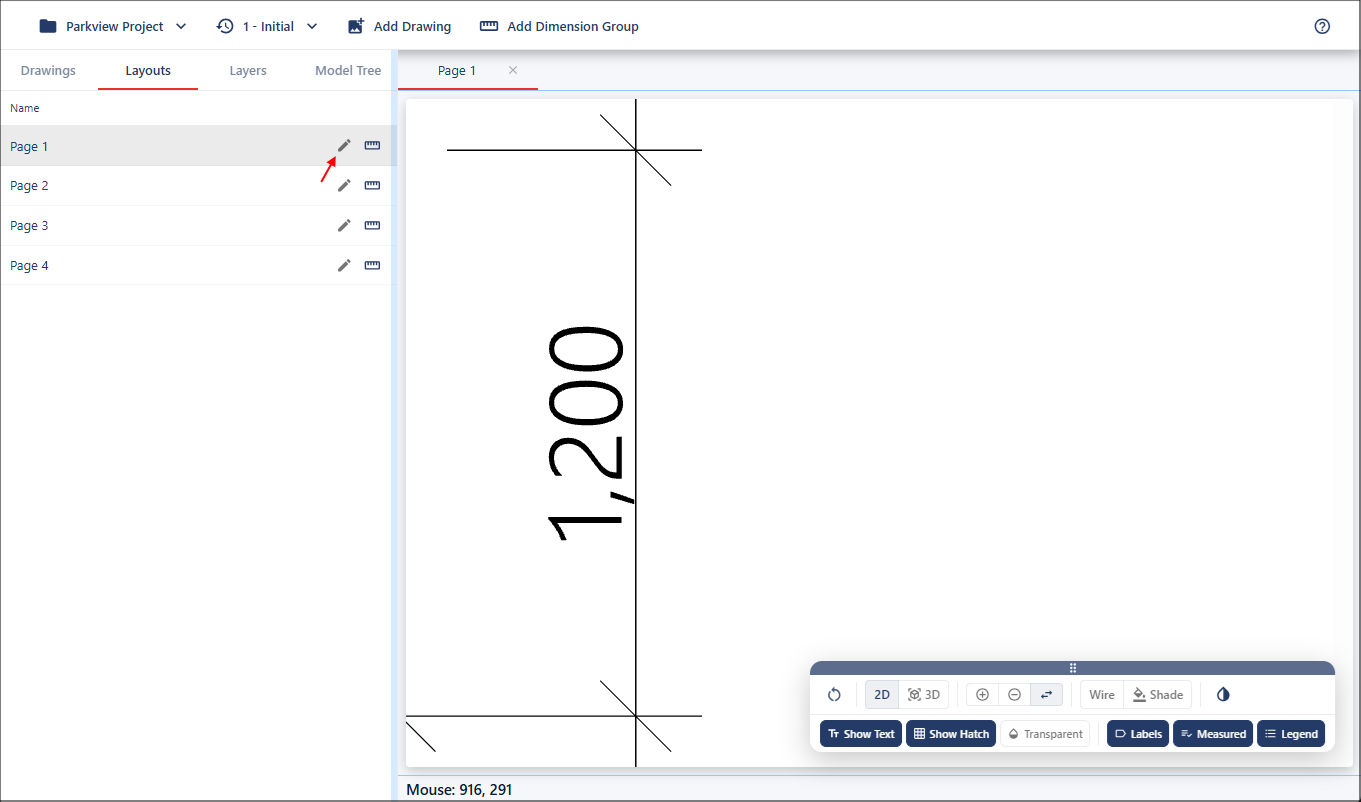
Updating the Scale
To correct the scale, click the Edit button next to the layout in the left-hand menu to open the Scale Properties dialog.
Set the scale in the X Scale field, for this example, 100. The Y Scale value will automatically match unless changed. When completed, click the Save button.