Scaling
Scaling Drawings in DimensionIQ
Scaling is a fundamental step in working with drawings in DimensionIQ, ensuring that the digital representation accurately reflects real-world dimensions. By default, drawings are set to a 1:1 scale, meaning one unit in the drawing corresponds directly to one unit in reality. However, not all drawings are imported or created with the correct scale, making it essential to verify and adjust this setting before performing measurements.
Determining the Scale
If the drawing does not display a scale or you want to verify the scale:
- Use the Measure tool to measure a known distance in the drawing.
- Compare the measured value to its real-world dimension.
- Calculate the ratio between the measured and actual dimensions to determine the correct scale.
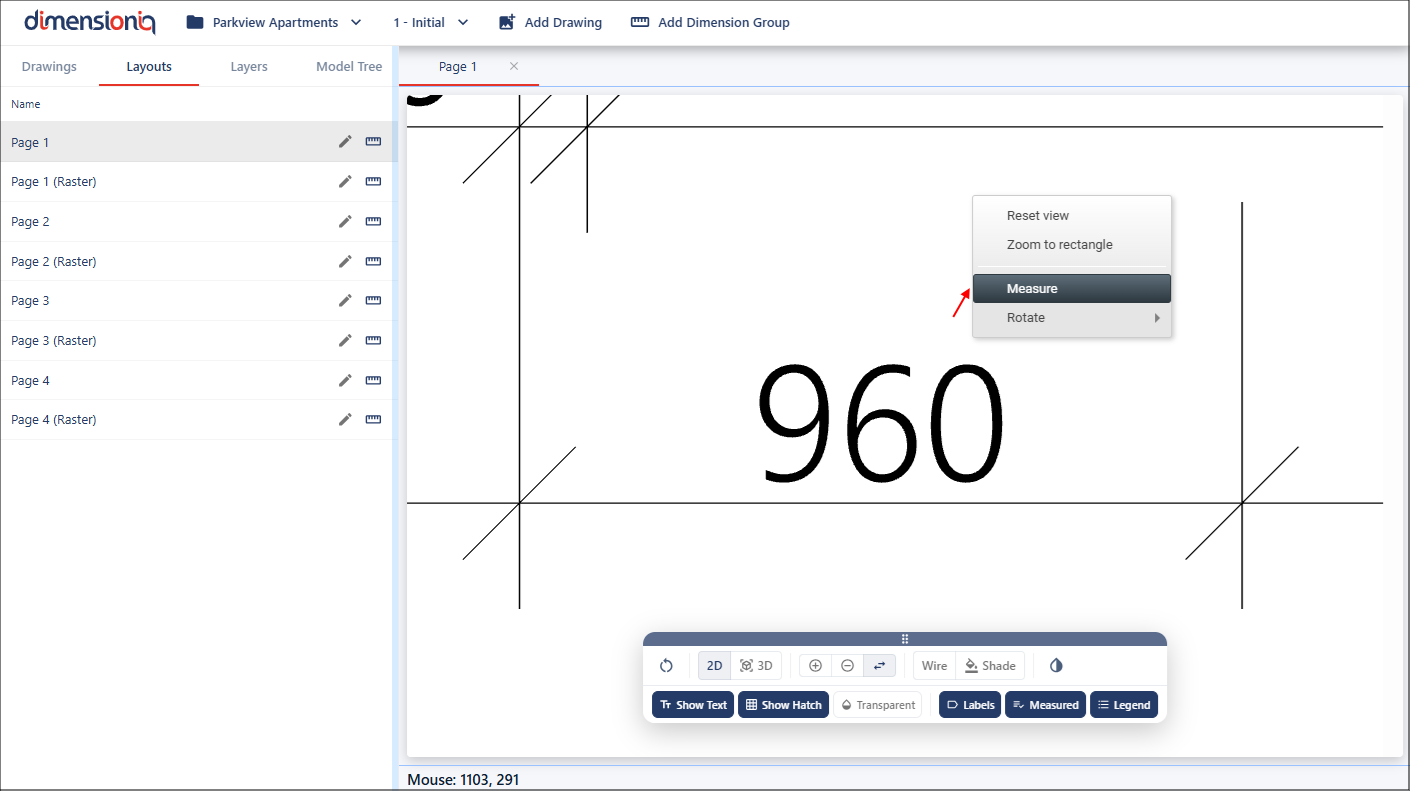
Using the Measure Tool
For greater accuracy, zoom in on a known measurement and right click in the viewport and select Measure to open the Measure tool.
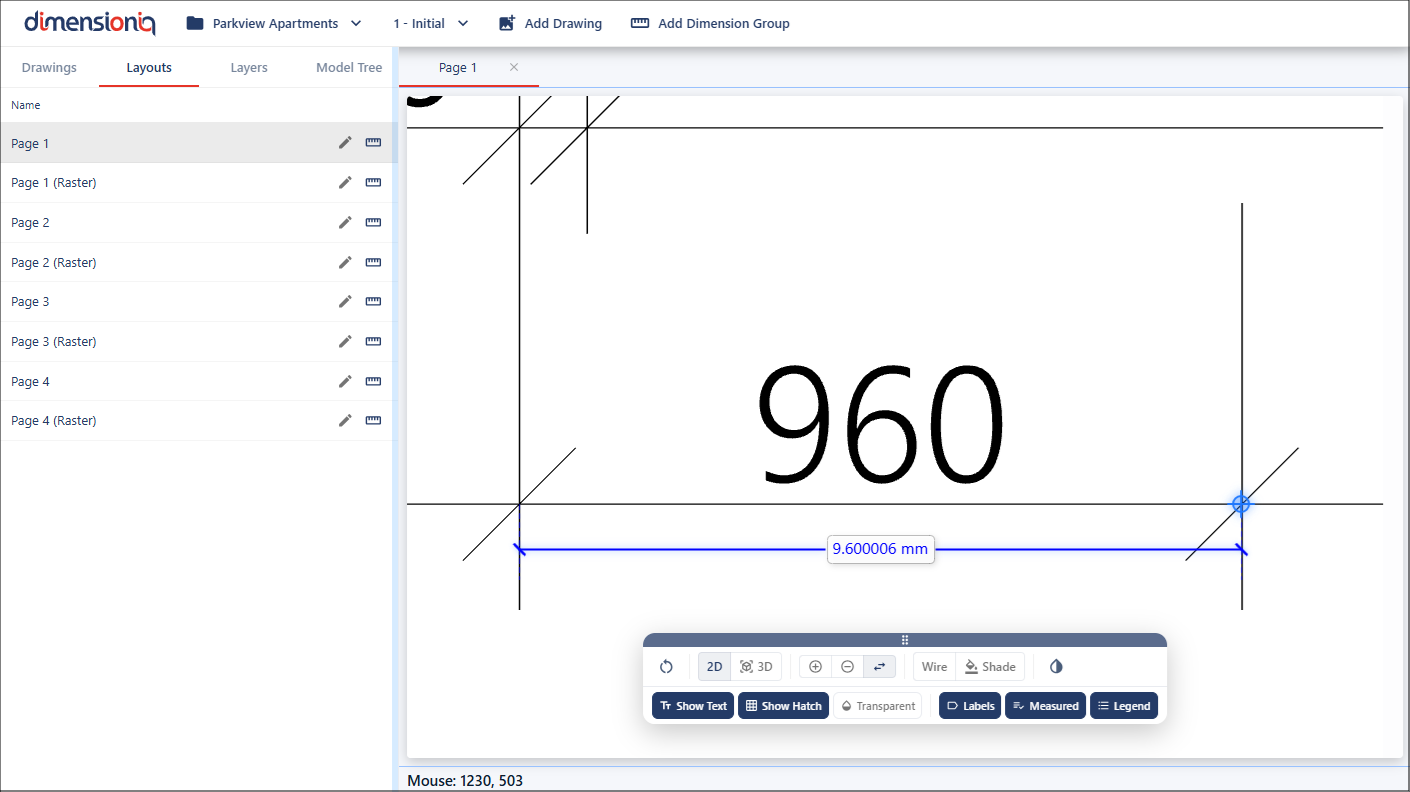
Click on the starting point, then move your mouse to the endpoint. The cursor will snap at the starting point and the endpoint.
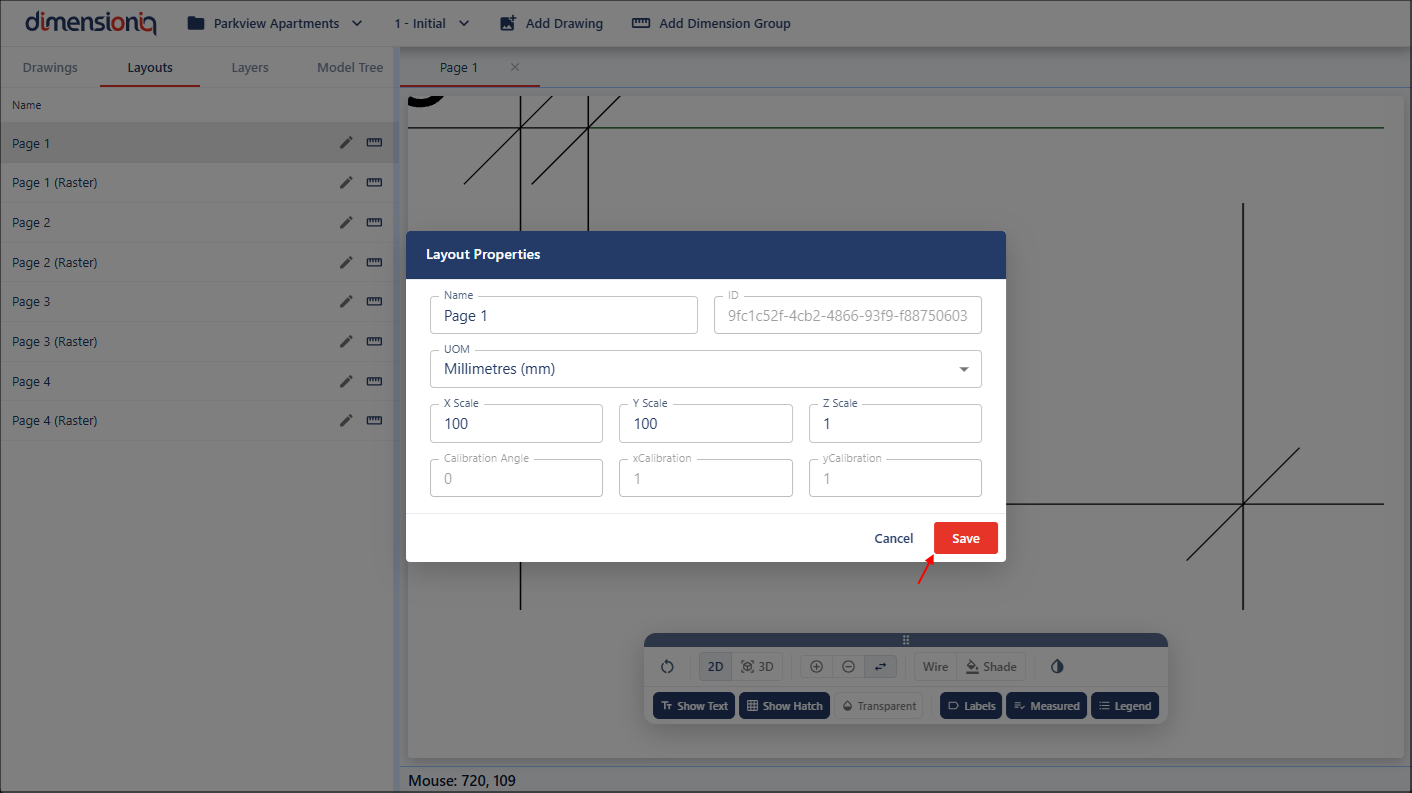
Setting the Scale in the Layout Properties
Once you know the correct scale, you set it in the Layout Properties dialog. For a 2D drawing, the scale is entered as a numeric value in the X Scale and Y Scale fields. For a drawing at 1:100 scale:
- Enter 100 in the X Scale field
- Enter 100 in the Y Scale field
This means that 1 unit on the drawing represents 100 units in reality. Keeping both X and Y scales the same ensures the drawing’s proportions remain accurate. If the values differ, the drawing will be distorted.
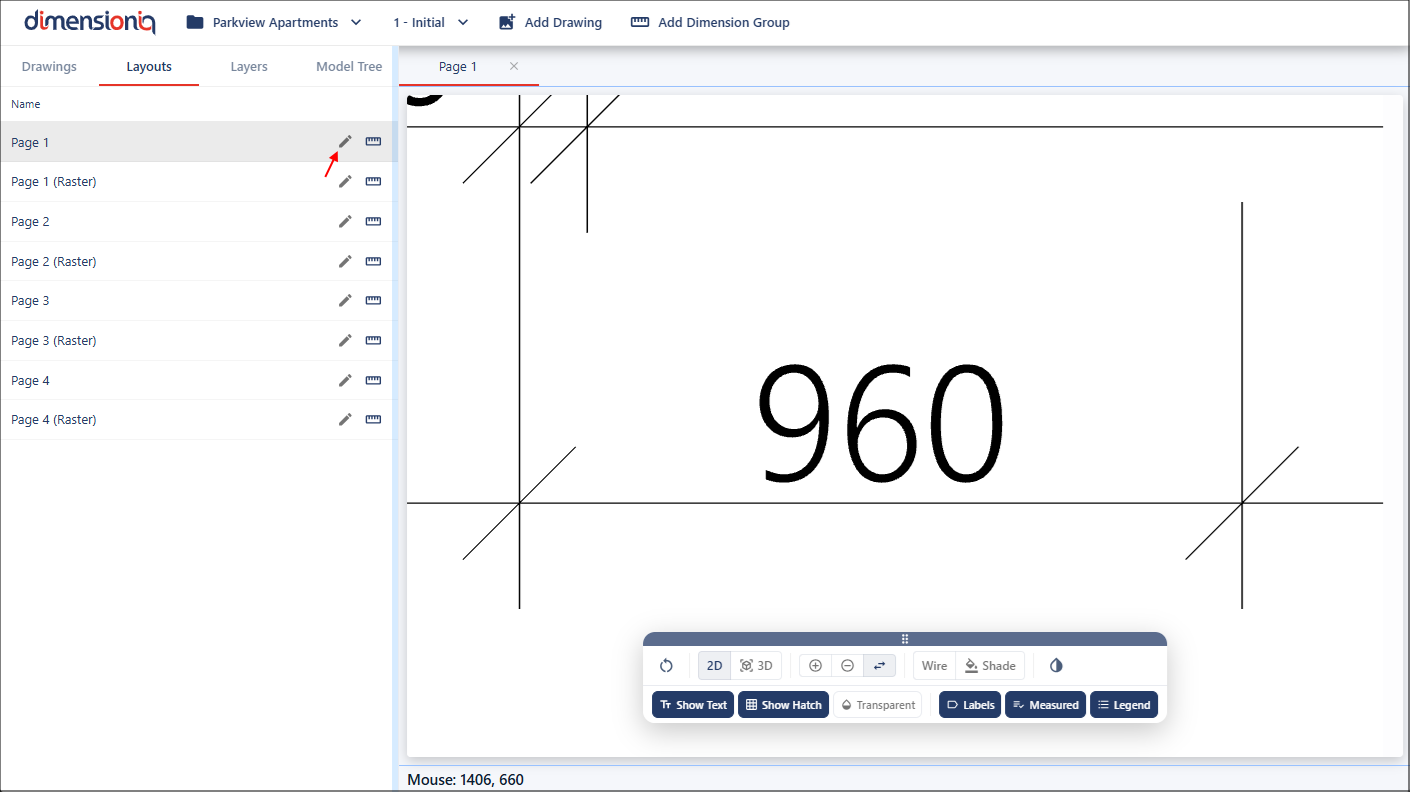
Each layout in the drawing file is displayed in a row with an Edit Layout button at the end. Clicking this button will open the Layout Properties dialog where the scale values can be entered.
Enter the X Scale value and the Y Scale value will default as the same, however, this can be edited.
Verifying the Scale
After applying the scale:
- Use the Measure tool again to confirm dimensions match real-world sizes.
- Once verified, all subsequent measurements and calculations will be accurate.
