Managing Dimension Groups
Dimension Groups in DimensionIQ
Dimension groups are created to hold and organize measurements taken from a drawing. When creating a dimension group, you must assign it to a folder by selecting an existing folder or creating a new one.
Dimension groups are configured after drawings have been loaded and layouts have been scaled or calibrated. This ensures that all measurements created within DimensionIQ are accurate, consistent, and aligned with the project's real-world dimensions.
Prerequisites
Before creating dimension groups, the following steps must be completed:
- Drawings loaded - Project drawings (eg, PDF, CAD) must be imported into DimensionIQ.
- Layouts calibrated/scaled - Each layout must be calibrated/scaled using a known reference measurement.
When to Create Dimension Groups
Dimension groups should be created after calibration/scaling and before performing any takeoff measurements.
Add a Dimension Group
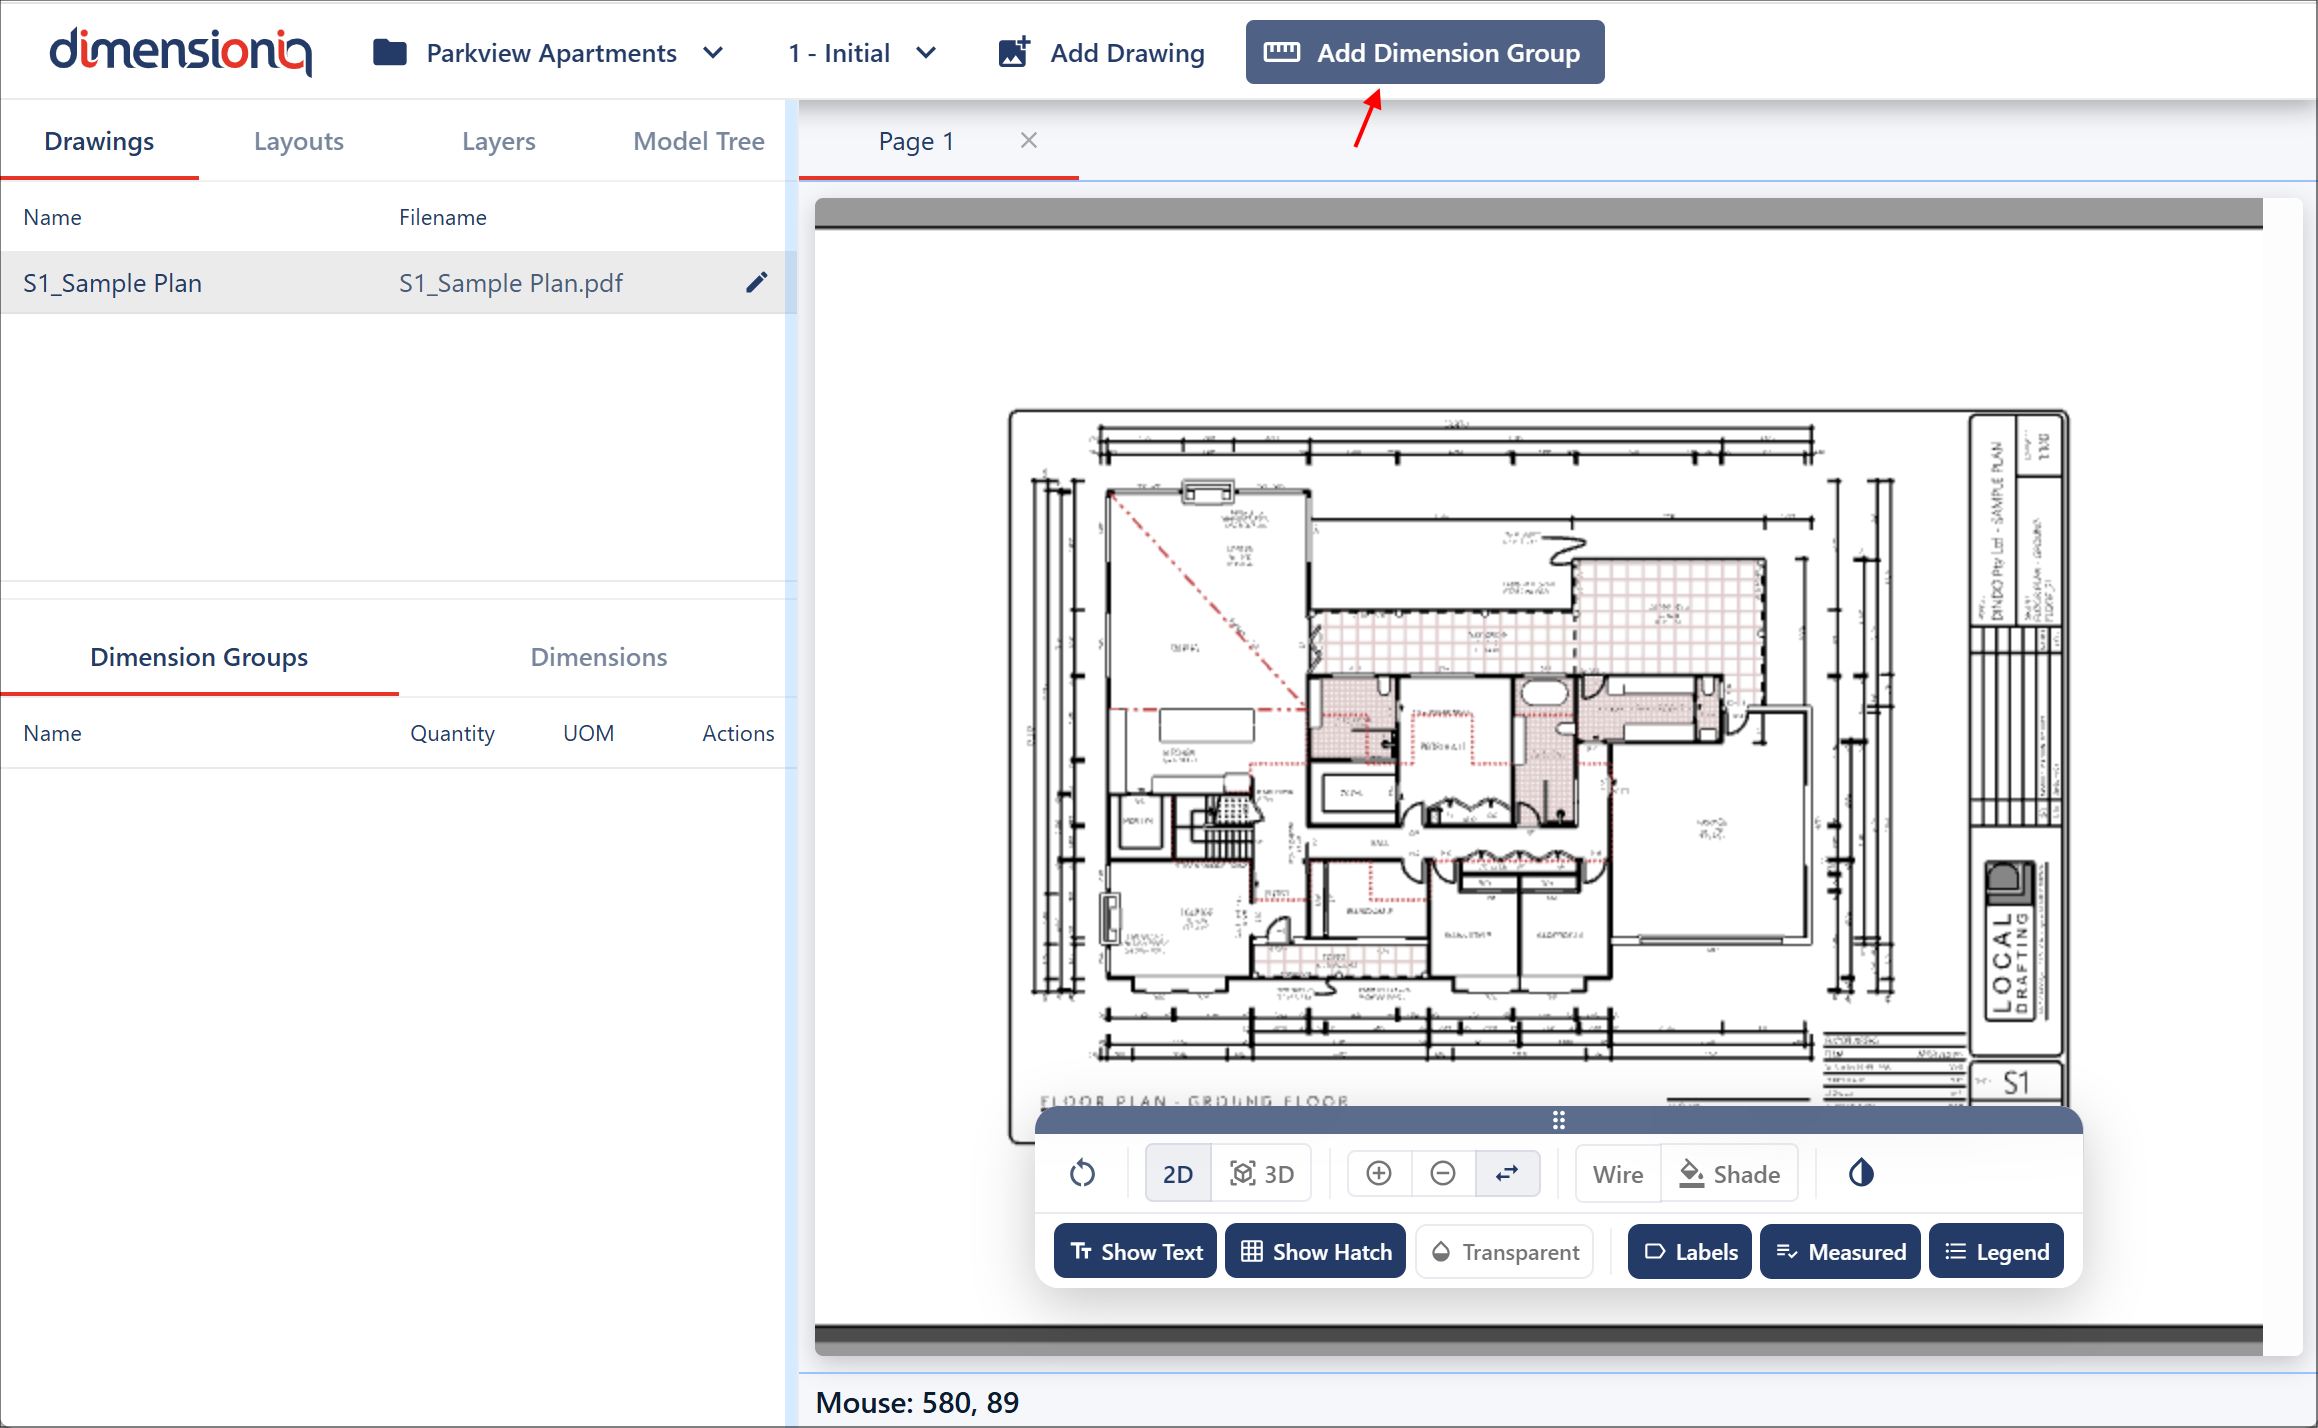
To create a dimension group, click the Add Dimension Group button in the top toolbar to open the Dimension Group Properties dialog.
Give the group a name and create a new folder by giving the folder a name in the Folder field. After your initial folder has been created, going forward you can select or create folders. Configure the following dimension group properties:
- Measurement Type
- Display Type
- Positive Color
- Negative Color
- Default Height (if applicable)
- Default Offset (if required)
- Notes (if required)
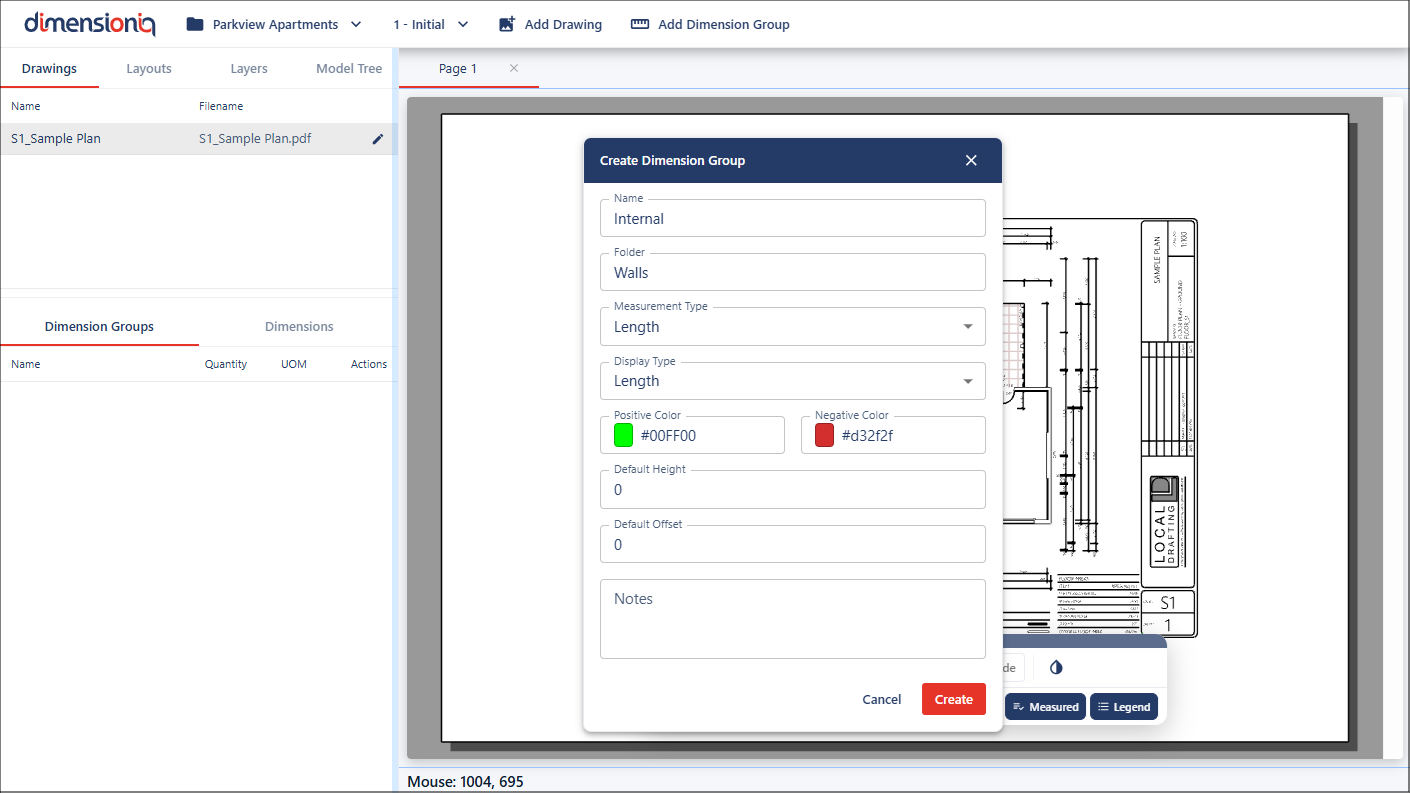
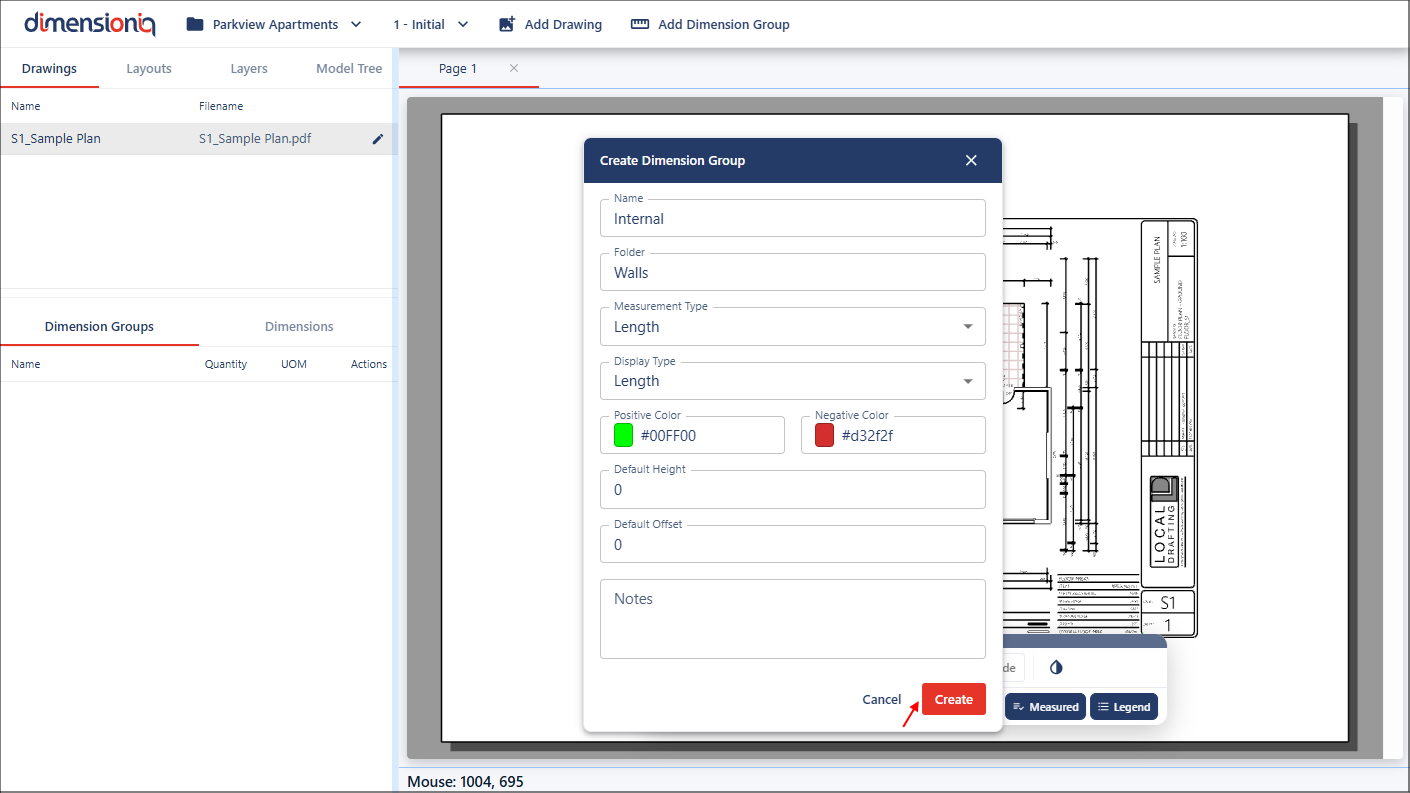
Click the Create button.
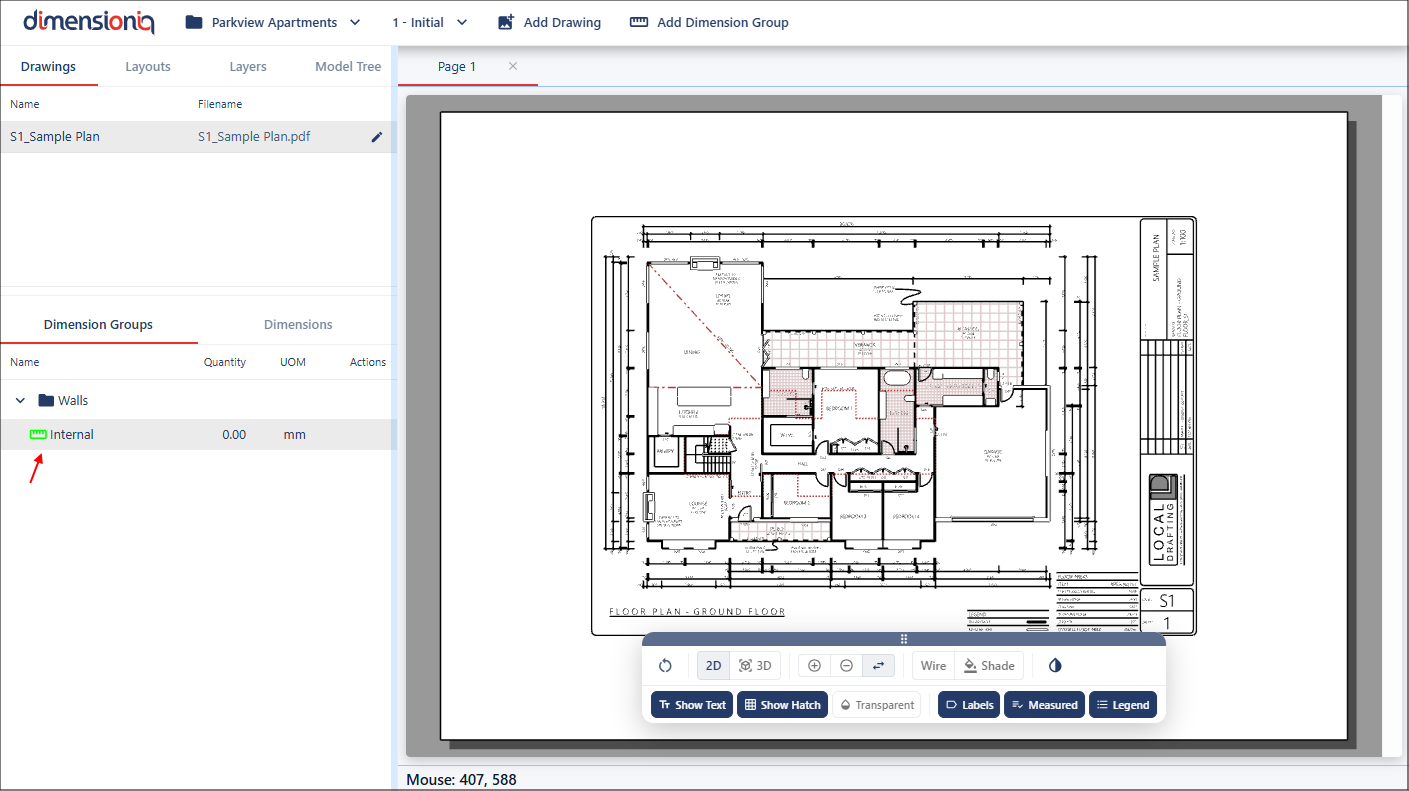
Once you have clicked the Create button, your dimension group will be available in its allocated folder in the left-hand side menu under the Drawings tab.