Length
Overview
Lengths can be created using the Snap Cursor, which automatically detects and aligns to nearby lines and points for accurate measurements, or by using the freehand input when no geometry is available, allowing you to click anywhere on the drawing to define your measurement points. You can also append to existing lengths, allowing you to build up continuous or multi-segment measurements.
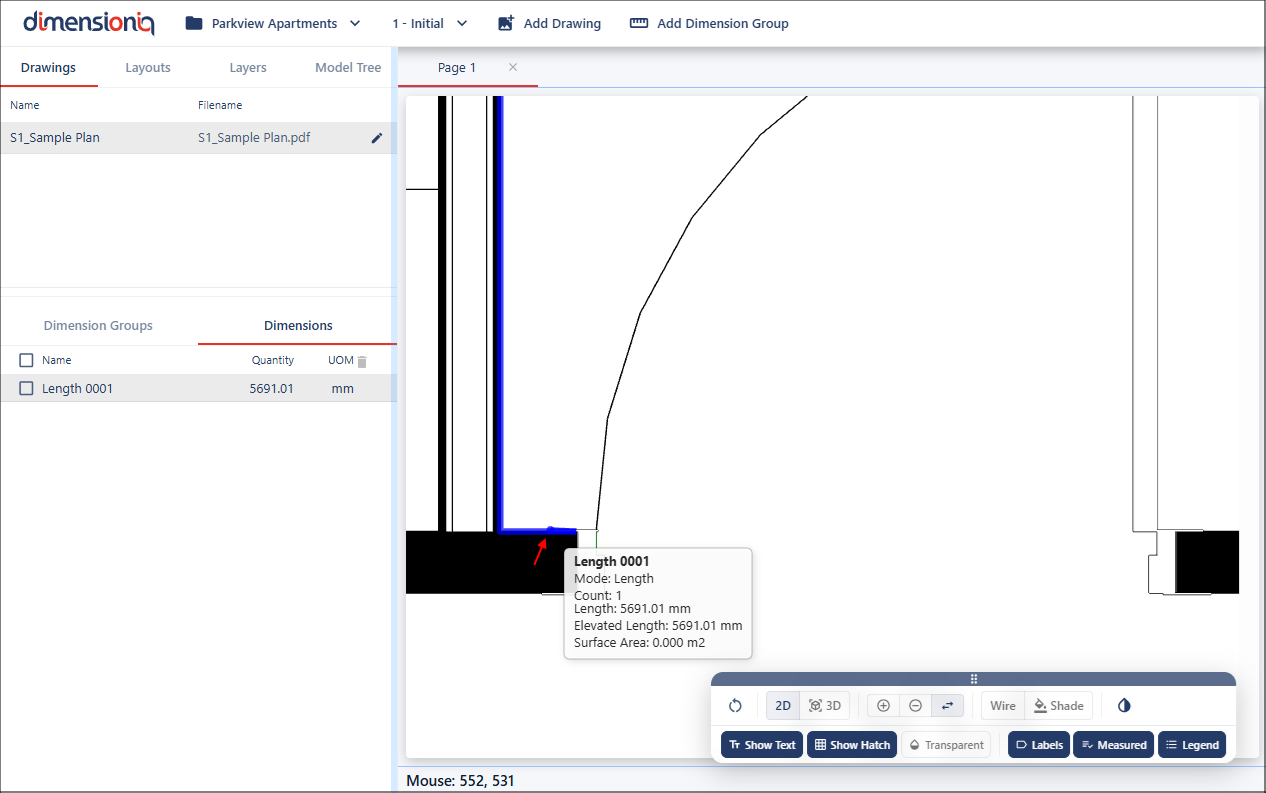
For greater accuracy when taking measurements, it is recommended to zoom in and pan the drawing to clearly position the Snap Cursor on precise points and lines. This helps ensure that selections are made on the correct geometry, reducing the chance of small alignment errors and improving overall measurement precision.
This section will guide you through how to measure lengths using both snapping and freehand methods.
Measuring Lengths With the Snap Cursor
To measure the length of an element in the drawing (eg, wall), move your cursor near the element and you will see the Snap Cursor lock onto it, indicating it can be measured.
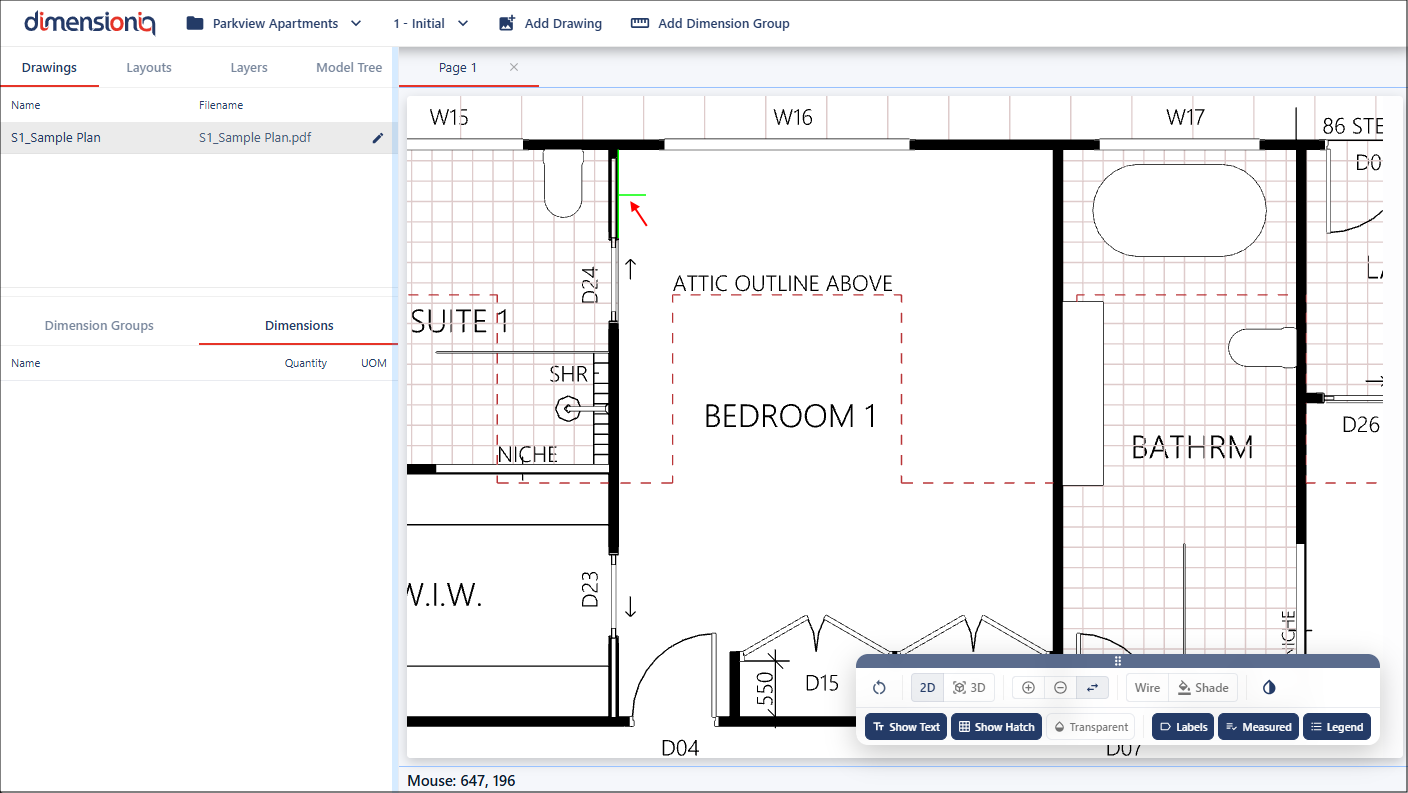
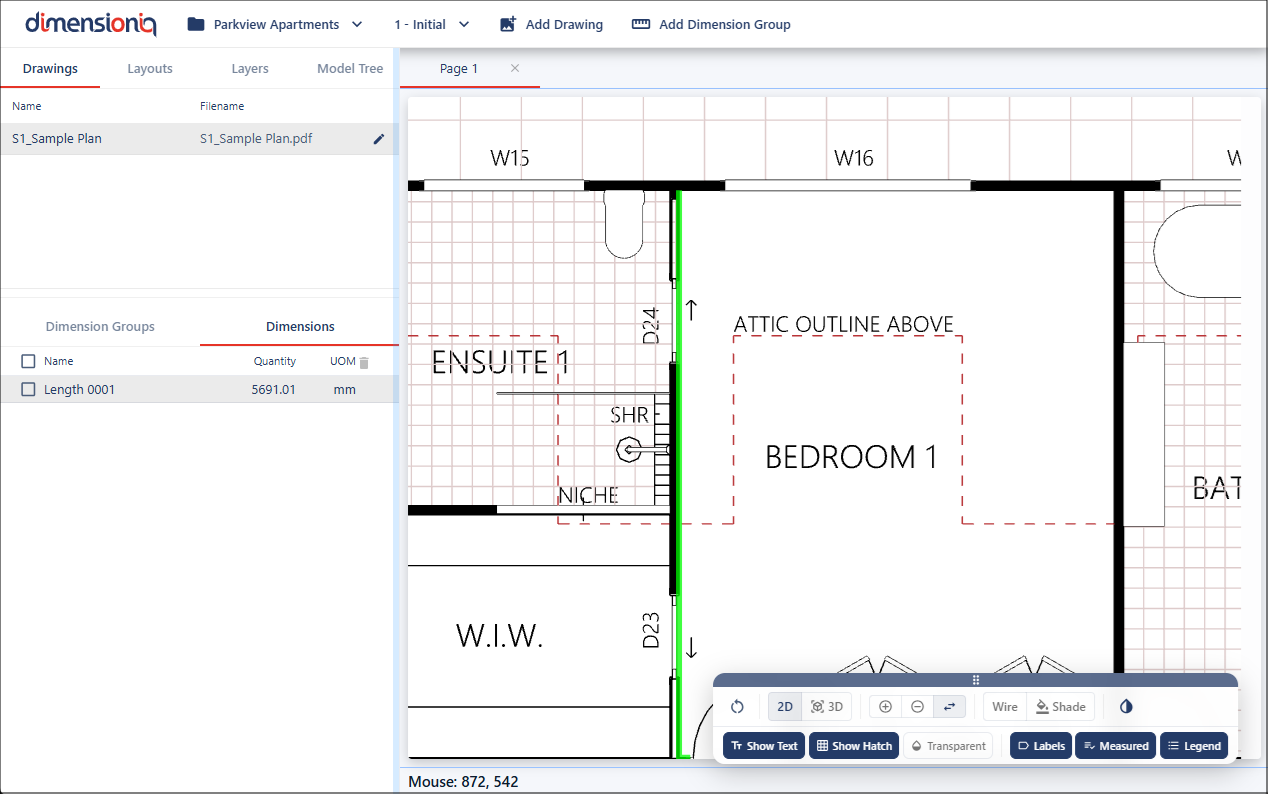
Click once while the cursor is active to create the measurement. The measurement will be highlighted in the drawing using the selected color defined in the dimension group properties and displayed in the left-hand menu under the Dimensions tab.

You can create multiple length measurements by continually clicking on each line the Snap Cursor attaches to. As the cursor snaps to a line, click to confirm each segment.

Undo Dimensions
You can undo measurements be pressing Ctrl + Z (Windows) or Command + Z (Mac). Each press removes the most recently created measurement, allowing you to step back through your changes.
Appending to an Existing Dimension
Existing dimensions in DimensionIQ can be easily extended by appending additional segments, allowing you to build up continuous measurements. This is especially useful when needing longer paths or combining multiple connected elements into a single dimension.
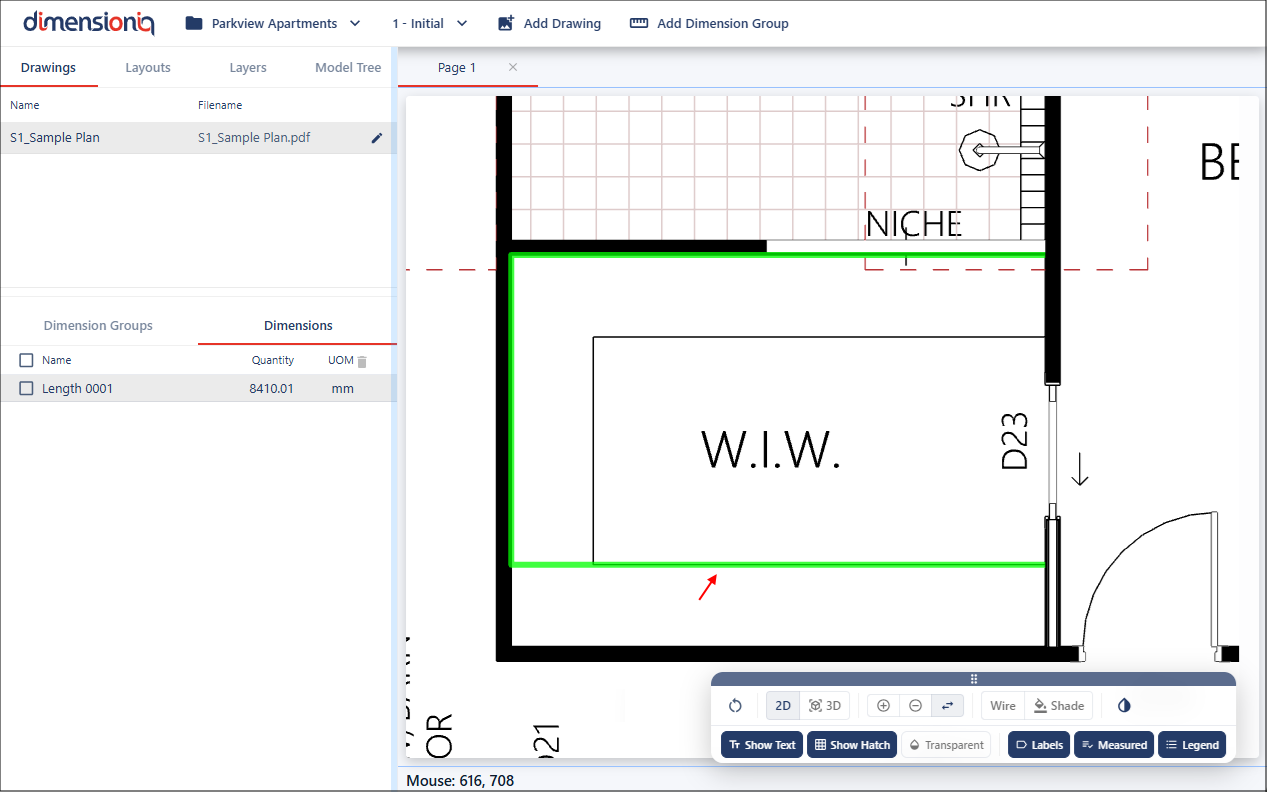
To append on an existing measurement, hover your mouse over the existing measurement in the drawing until it highlights in dark blue. Hold down the Shift key to enter append mode.

Then move your cursor from one end of the measurement where the Snap Cursor will automatically lock onto the next adjoining element, allowing you to extend the measurement. The length will increase under the Dimensions tab as it has been added to the existing dimension.
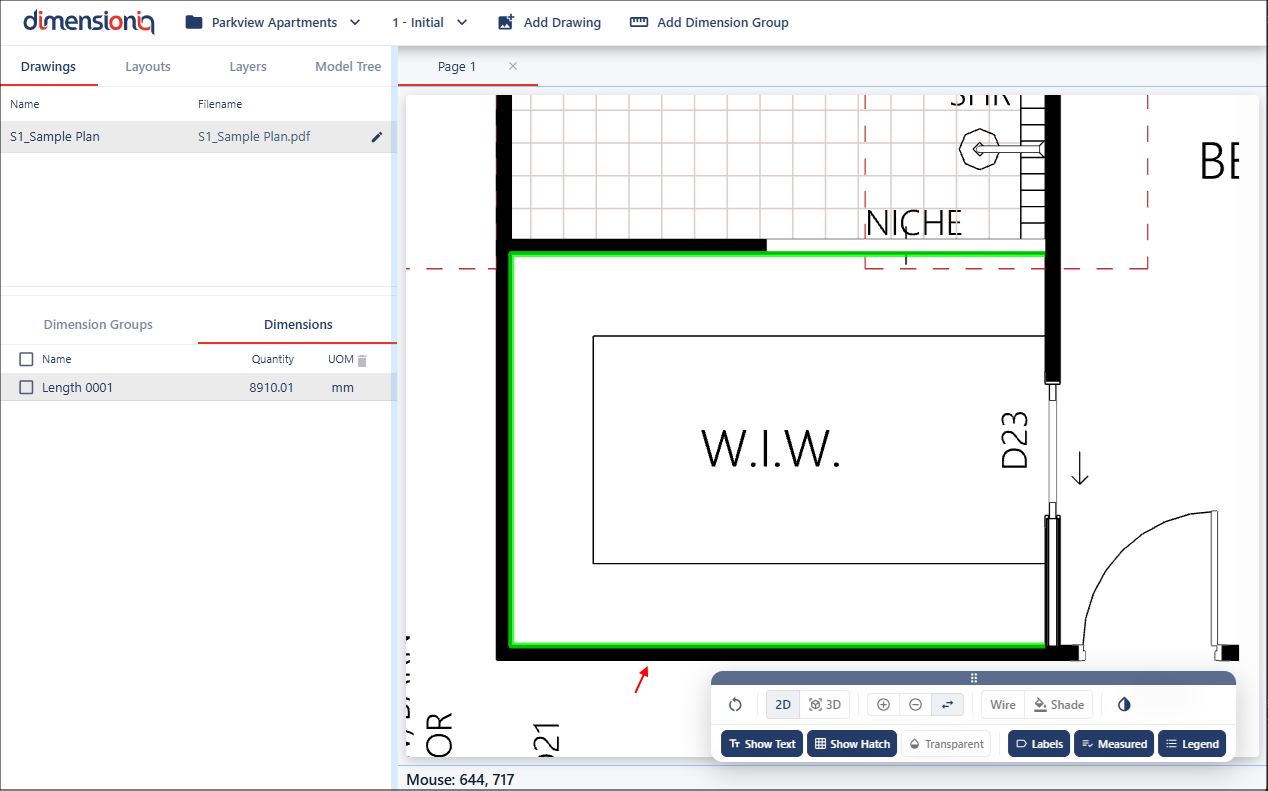
Continue holding Shift and repeat the process to keep adding segments until your full measurement is complete.
Trimming a Dimension
You can trim a dimension by trimming a specific segment which will make it no longer included in the measurement, helping you refine measurements or remove unwanted portions.
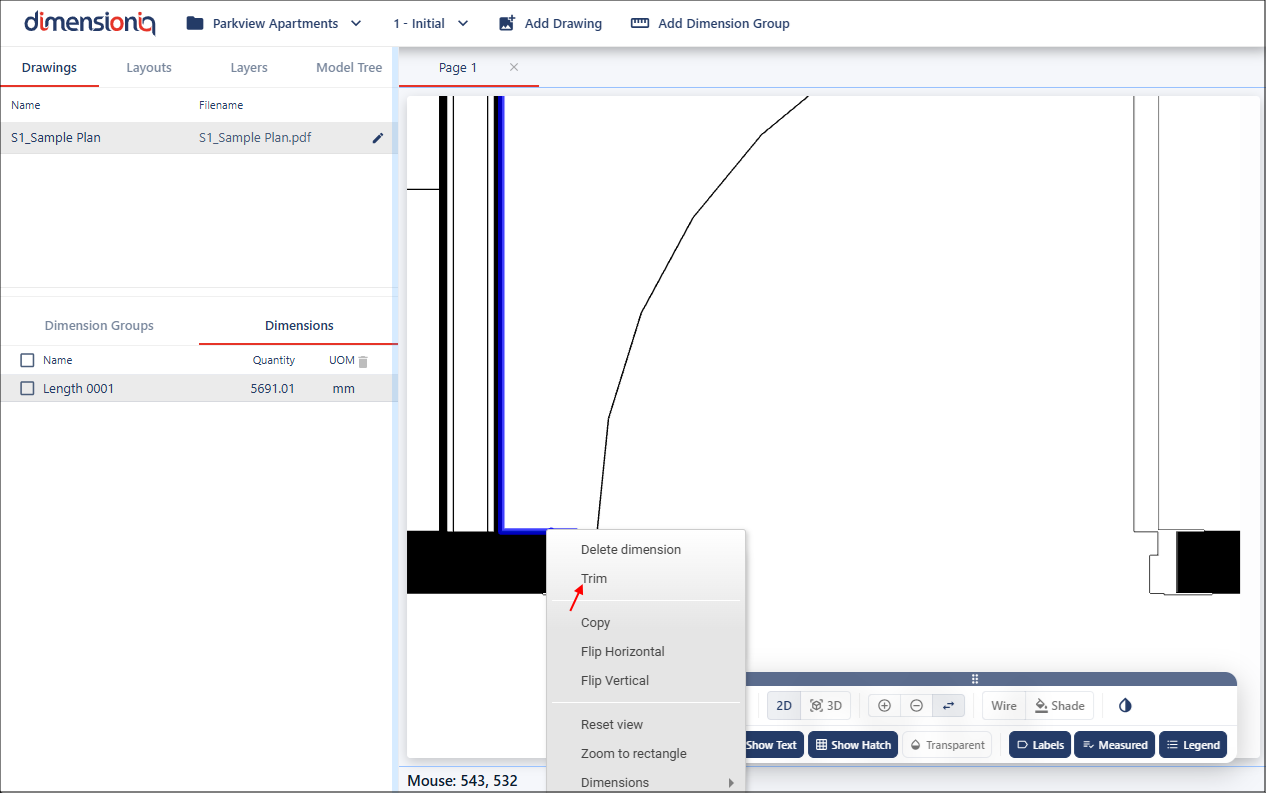
Zoom in and pan your drawing for accuracy, hover over the segment you want to trim. The dimension will highlight in dark blue. Only the segment closest to the cursor is considered for trimming.
Right click and select Trim from the Context menu.
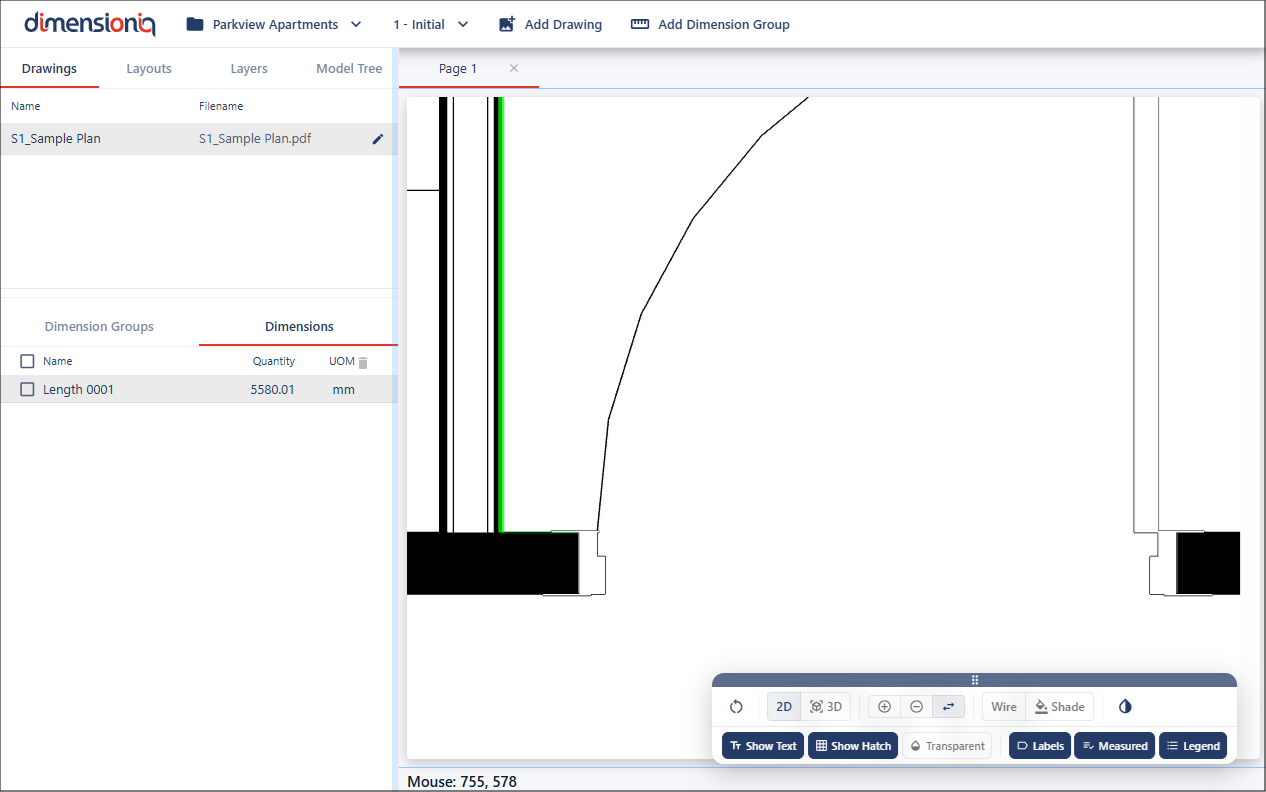
The closest segment, typically determined by the nearest intersection or endpoint to the cursor, is the one that will be trimmed, while all other segments in the dimension remain unchanged. Trimming is limited to the outermost portions of a dimension, meaning only the first and last segments are eligible for trimming.
Once a dimension has been trimmed, the action can be undone if needed. To restore a trimmed segment, hover over the location of the deleted segment, right click, and select Remove Trim from the Context menu. Alternatively, you can use the standard undo shortcuts: Ctrl + Z (Windows) or Command + Z (Mac). Undoing the trim will restore the segment to its original position, allowing the dimension to behave as it did before trimming, including the ability to append further measurements.
Adjusting a Dimension
Adjustments can be made to existing measurements, allowing you to quickly correct or refine dimensions without needing to recreate them. This is particularly useful if an incorrect element was selected during the initial measurement.
To adjust a measurement, click once on the existing dimension to select it.
Then move the cursor to the desired location, such as the correct wall or point, where the Snap Cursor will assist by identifying and previewing valid geometry. Click again to confirm, and the measurement will update to reflect the new position.
Freehand Measuring
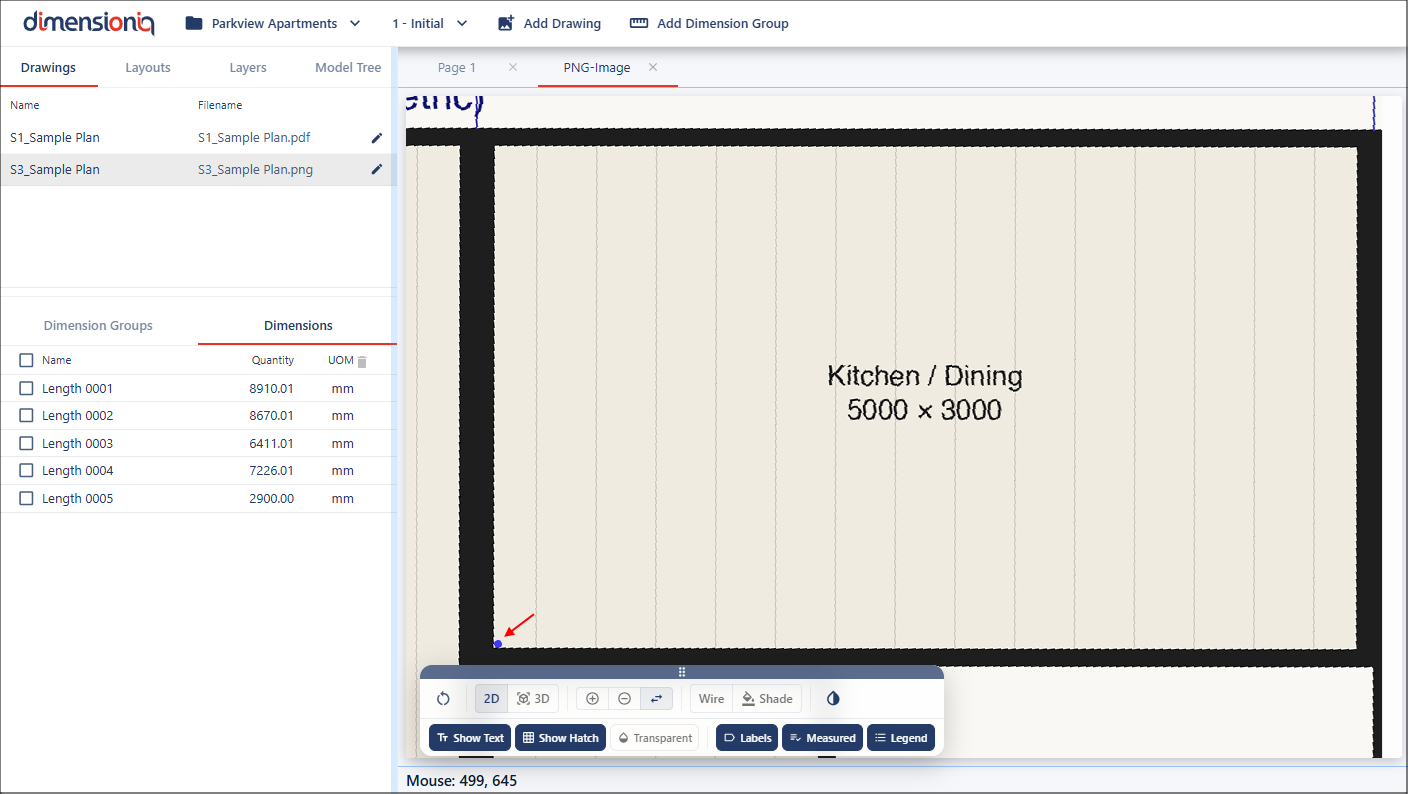
Freehand measuring is used when a drawing does not contain any detectable geometry, such as when working with raster image formats like PNGs. In these cases, the system cannot snap to lines or points, so measurements must be created manually. Freehand mode allows you to place points anywhere on the drawing by clicking to define start and end positions, giving you full control over where measurements are taken.
To use freehand measuring hold the Option (Mac) / Alt (Windows) key to switch into point mode. Click once to set the starting point, after this first click, a blue dot will appear to indicate the active start position.
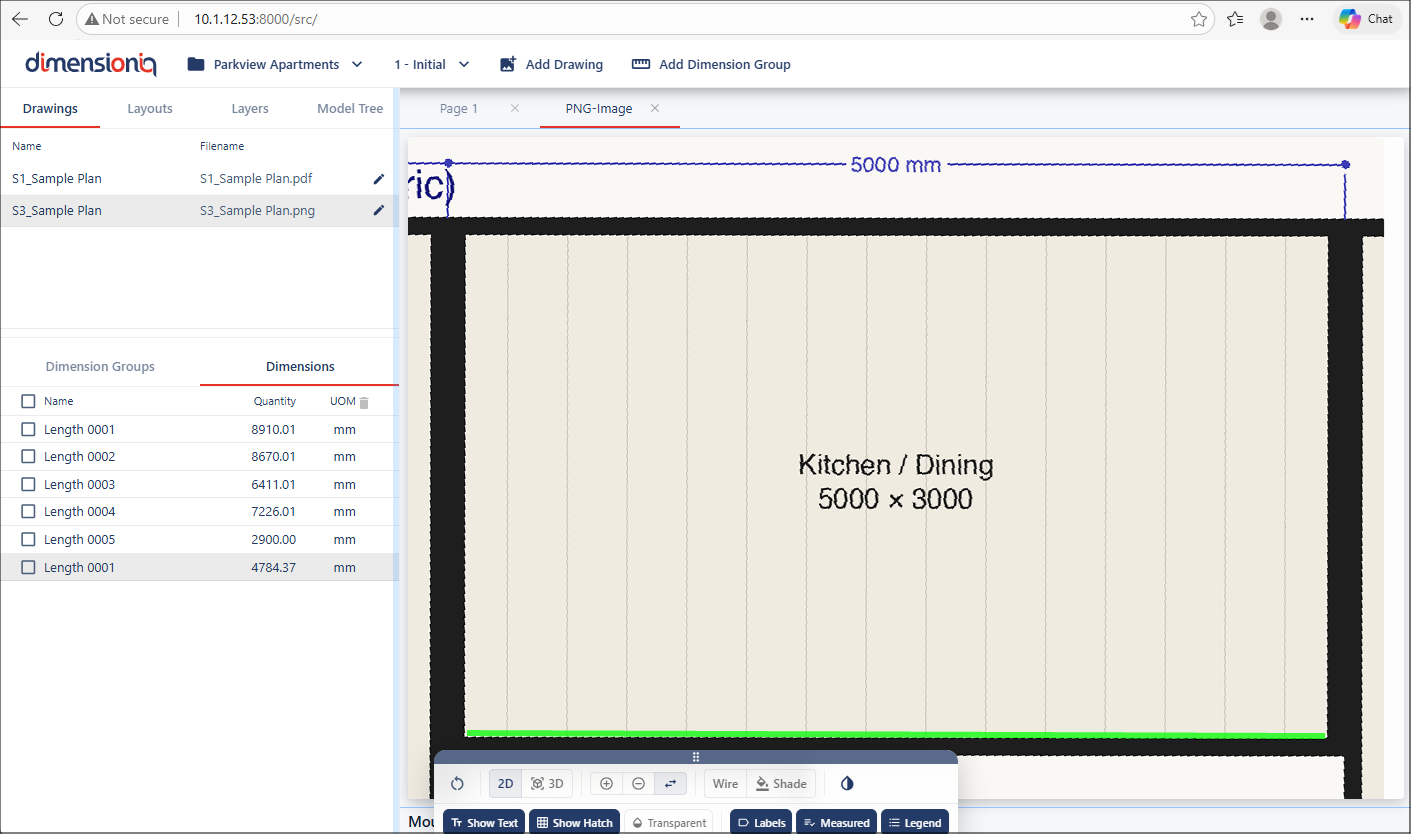
Move the mouse along the desired path. Click again to place the endpoint and complete the measurement.
Measurements can also be extended by appending to an existing one. To do this hold Option/Alt and position your cursor over the start or endpoint of the existing measurement. The blue dot will once again indicate the active start position, there is no need to click.
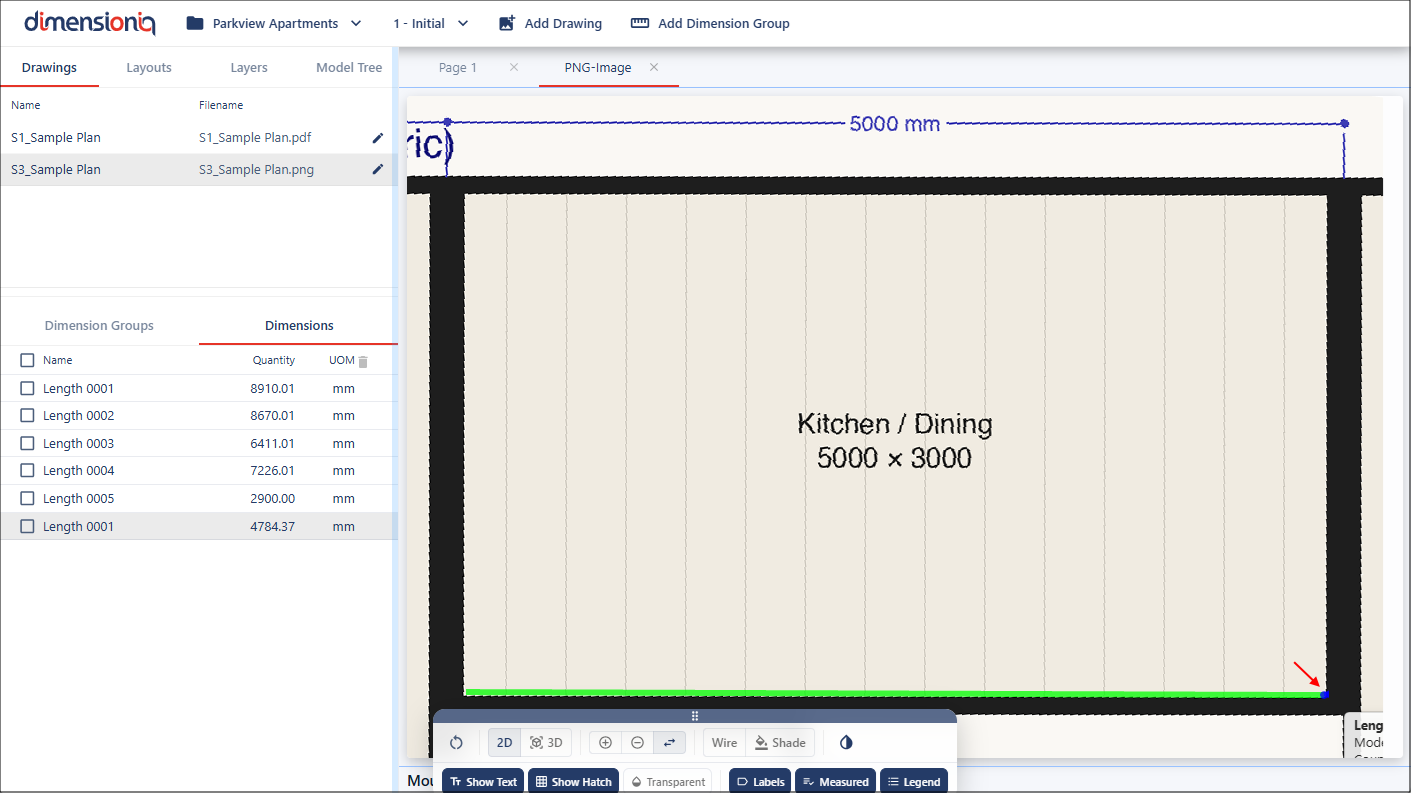
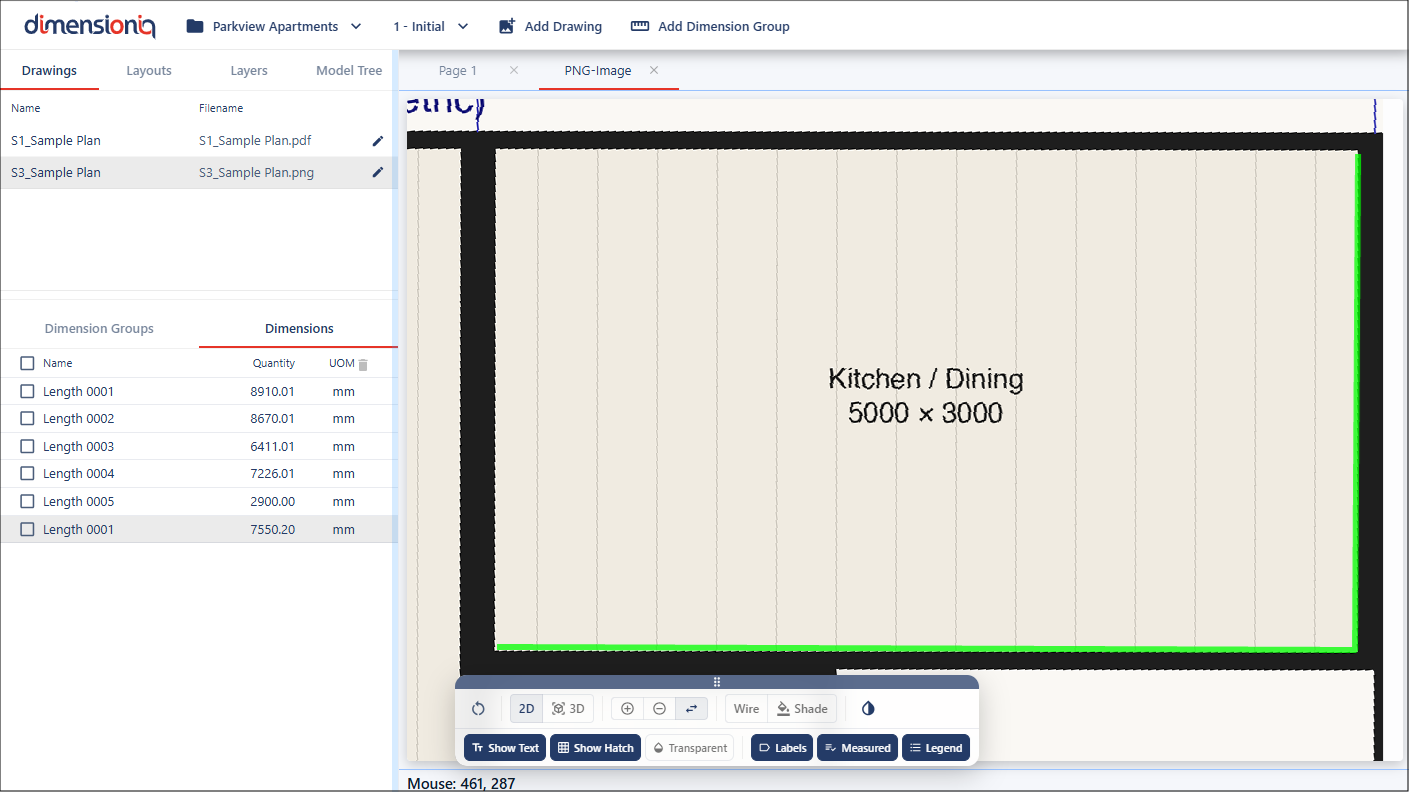
From here, simply move your mouse to the next location and click to place the new endpoint. You will notice in the HUD and in the menu that the dimension has increased in length.
Disabling the Snap Cursor
When you have geometry in your drawing, you can temporarily disable the Snap Cursor by holding down the Option/Alt key, while holding the key, click once to set your starting point, move your mouse to the desired endpoint, and then click again to complete the measurement. While line snapping is disabled, the system will continue to snap to nearby points when available. Effectively, you can freehand measure while still benefiting from point accuracy when working near existing geometry.
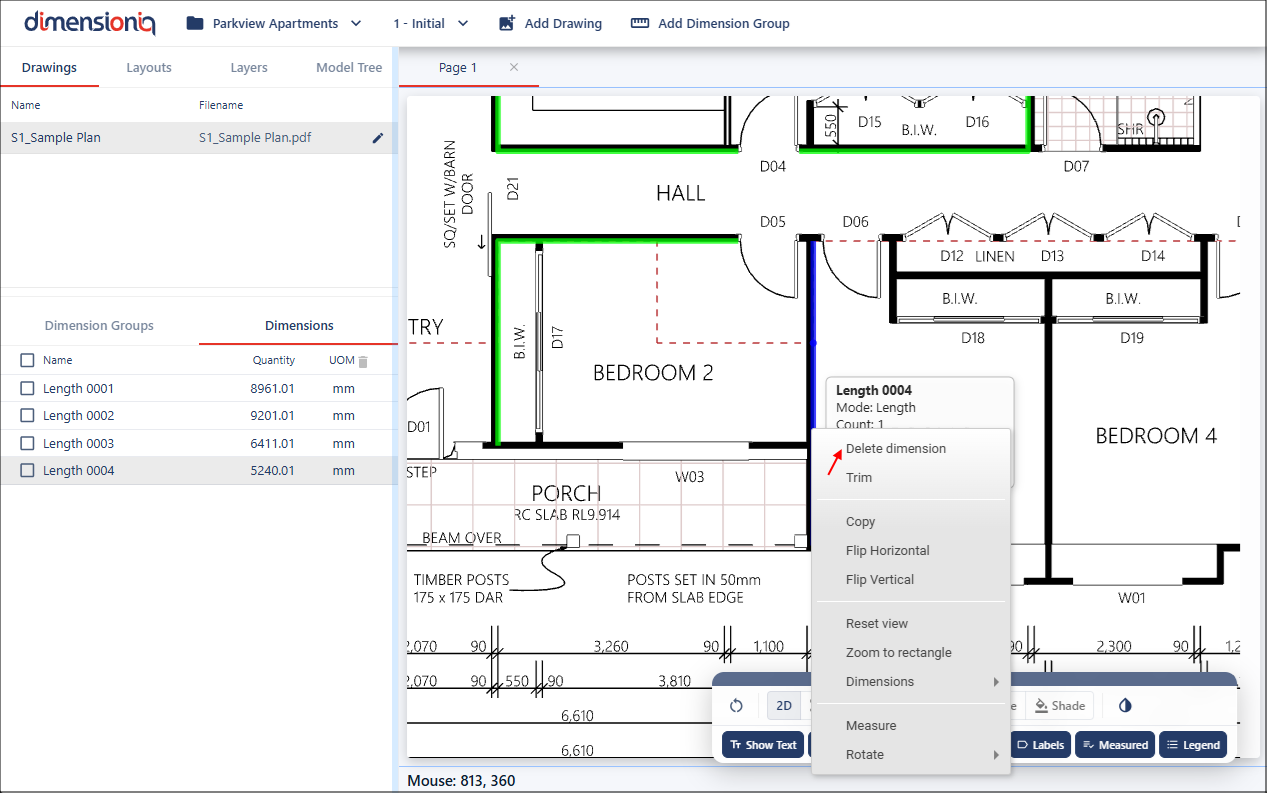
Deleting a Dimension
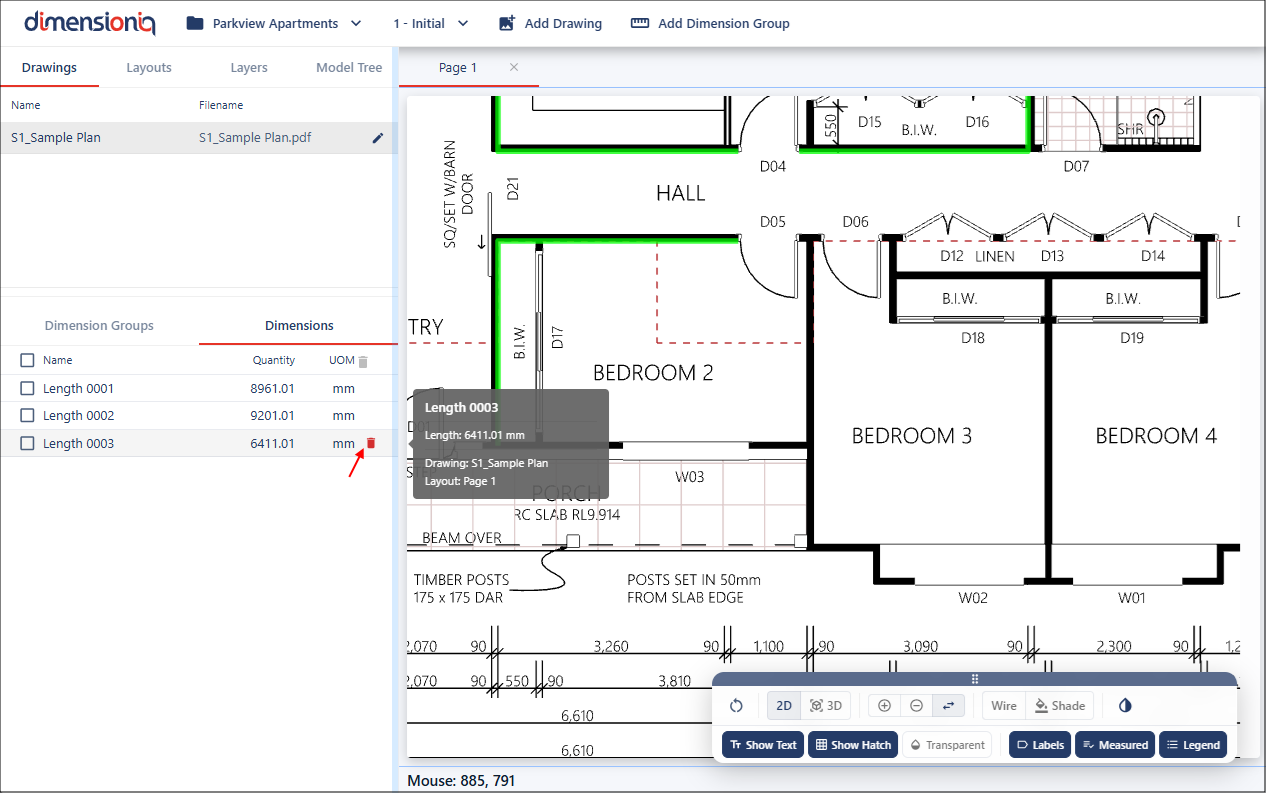
A dimension can be deleted directly from the drawing or from the dimensions menu.
To delete from the drawing, hover over the dimension, then right click and select Delete Dimension from the Context menu.
Alternatively, you can delete a dimension from the menu by clicking the Delete button in the same row as the dimension. Once deleted, the dimension will be removed from both the drawing and the dimensions list.